Things You'll Need
Acetone
Sandpaper
Mastic adhesive
Circular saw
Carbide-toothed saw blade
Sandpaper
Trowel
Grout
Grout applicator

Corian is a solid surface chosen for many kitchen countertops. If a homeowner wants to change the look of the countertops, he must demolish the existing Corian. Because Corian is characteristically made in one continuous section, this task can be difficult. There is another option, however. With a few specific techniques, a homeowner can actually tile right over the existing Corian to resurface the counter with granite or porcelain tile.
Step 1

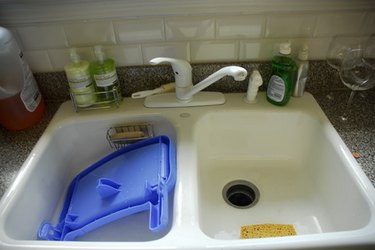
Insert the carbide-toothed blade into the circular saw, and use the saw to cut a hole in the Corian where the molded sink is situated. Most Corian countertops are made of one continuous piece of material with a sink molded into the middle, but installing a tile surface requires the installation of a new sink. Purchase a sink of similar size and create a space for the new installation. Disconnect the plumbing and faucet as necessary and remove the Corian sink.
Video of the Day
Step 2

Clean the surface of the Corian countertop with acetone or alcohol to remove all traces of residue and leave a completely smooth and clean surface. Use a heavy-duty sandpaper to rub down the entire surface of the Corian. The counter will need to be scratched and roughed up to allow better adhesion of the new tile, so make certain that you are making contact with the sandpaper over every square inch of the Corian surface. An automatic sander can also be used for better sanding. Wipe away any excess dust from the countertop using acetone.
Step 3

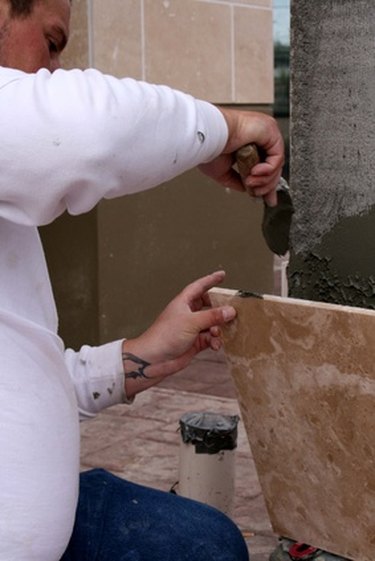
Apply a thin layer of mastic adhesive, which is a sticky, powerful adhesive made from the resin of the mastic tree. Mastic adhesive is often used in construction for adhesion and caulking applications, and it can usually be purchased from large home improvement stores. Prepare the mastic according to the package directions, and use a metal trowel to spread the mastic layer onto the surface of the Corian countertop. Apply a thin layer of the mastic to the underside of the tiles and apply the tiles to the countertop, making sure to press each tile into the mastic to ensure proper contact and adhesion.
Step 4

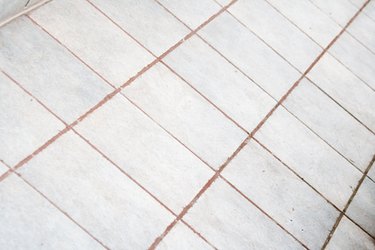
Allow the mastic adhesive to cure according to the directions. Grout the tiles using a premixed grout and grout applicator. Allow the grout to set and then wash away the grout residue from the tile surface.
Video of the Day