Things You'll Need
Framing hammer
Nail puller
Scrap board (1 by 4 by 12 inches)
3-inch galvanized screws
Drill with Phillips bit
Caulk gun with 30-year silicone caulk
Boards (1 by 4 by 72 inches)
Miter saw
8d nails
Nail set
Oil-based primer
3-inch natural-bristle paintbrush
Oil-based paint
Paint thinner
Pencil
Wood putty

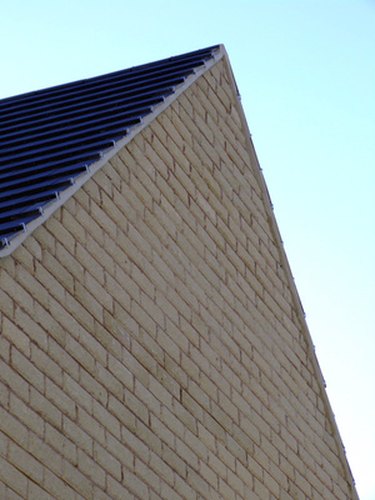
Heat rises in your home just like it does in the rest of nature. The dark shingles on the roof absorb the heat of the sun and trap it in the attic. The vents in the gable ends create an air flow that ventilates the attic space, ridding your home of this excess heat and making your home more energy-efficient. Damage to a gable vent requires immediate attention to ensure uninterrupted heat transfer and to prevent an invasion of the house by wild animals and birds.
Step 1
Remove the damaged vent. Pry away the trim boards on the outside of the house with your hammer and nail puller. Place your scrap piece of board between the house and your prying tools to prevent damage to the house. Pull the vent free of the house with your pry bar nail puller. Discard the damaged piece and the trim boards after you remove the nails from all of the pieces to prevent injury.
Video of the Day
Step 2
Slide your replacement vent into place in the hole. Attach the vent to the wall with your drill and 3-inch galvanized screws. Place a bead of caulk around the perimeter of the vent with your caulk gun and allow the caulk to cure for one hour.
Step 3
Place a 1-by-4 board against the side of the house. Make a mark on the board with a nail at each corner of the vent, using a pencil. Place the board into your miter saw. Cut a 45-degree angle at each mark on the board, making the mark the inside corner of the angled cut. Attach the board to the wall with 8d finishing nails. Countersink the nails with your nail set. Apply putty to the nail holes.
Step 4
Apply the remaining trim boards. Line up the inside and outside corners of the angled cuts of your trim boards for a clean, tight fit. Place a bead of caulk into every seam between the trim boards and the vent to complete the installation. Allow one hour for the caulk to cure.
Step 5
Apply a coat of oil-based primer to the trim boards and allow it to dry completely. Clean your paintbrush thoroughly with paint thinner. Apply two coats of paint to the trim boards, allowing the first to dry completely before applying the second coat. Clean your paintbrush completely and allow it to dry between coats of paint and when the project is completed.
Warning
Always use extreme caution when working on a ladder.
Always have a helper/spotter when working at heights to make your project safer and easier.
Leather gloves and safety glasses are required for any remodeling and home repair project.
Video of the Day