Things You'll Need
9-volt battery
Screwdriver
Electrical connector caps

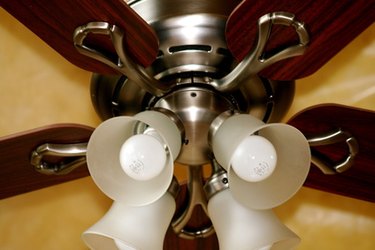
Home Depot markets their own line of ceiling fans under the Hampton Bay brand. Select Hampton Bay fan models include a remote control, which allows you to stay in one place and adjust the fan speed or dim the lights. The remote has four buttons, "Hi," "Med" and "Low" to select fan speed and "Off" to turn off the fan. The "Light" button allows you to turn on or off the light and adjust brightness.
Transmitter Setup
Step 1
Remove battery cover from the back of the remote.
Video of the Day
Step 2
Slide the remote's code switches up or down to choose your combination.
Step 3
Slide the code switches on the receiver to the same combination as the remote.
Step 4
Insert a 9-volt battery into its compartment and replace the battery cover.
Receiver Installation
Video of the Day
Step 1
Turn off electrical power at the breaker box.
Step 2
Remove the ceiling fan canopy and pull wires out of the junction box. Disconnect the wiring between the fan and supply.
Step 3
Connect the green fan wire to the bare supply wire.
Step 4
Connect the black receiver wire, labeled "AC IN L," to the black supply wire and connect the white receiver wire, labeled "AC IN N," to the white supply wire.
Step 5
Connect the black receiver wire, labeled "TO MOTOR L," to the black fan wire and connect the white receiver wire, labeled "TO MOTOR N," to the white fan wire.
Step 6
Connect the blue receiver wire to the blue light wire. Push all wires into the junction box.
Step 7
Lay the antenna wire on top of receiver and place in the mounting bracket.
Step 8
Reinstall the canopy and turn on power at the breaker box.
Tip
Set the fan switch to “High Speed” and the light switch to “On” when installing the remote control.
Warning
Failing to turn off electrical power at the breaker box could cause serious injury or death.