Things You'll Need
Paintbrushes (polyester or nylon for latex paint, natural-bristle for oil-based primer)
Paint
Stain-blocking primer
Sandpaper (180- or 200-grit)
Wood filler
Putty knife
Rags
Drop cloth, newspapers or cardboard
Sawhorses or other support
Mineral spirits
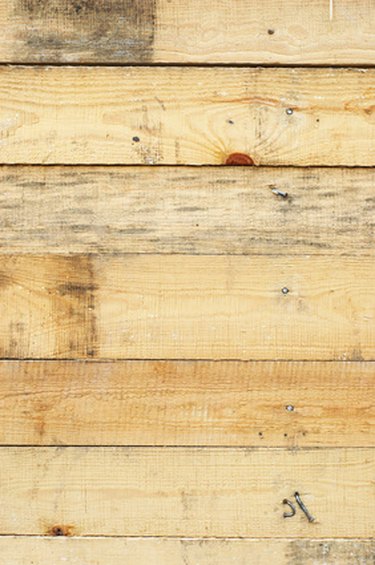
Because pine is an inexpensive, easily-sourced wood, you can paint raw pine boards without guilt. While this offers endless possibilities for color and creativity, the knots in certain species of pine offer a unique challenge to the painter. Proper priming of your pine boards is critical to prevent the pine resin from bleeding through your final paint finish.
Step 1
Prepare your work area. This includes protecting the floor and nearby furnishings and fixtures from paint accidents. Use newspapers, cardboard or a painter's drop cloth.
Video of the Day
Step 2
Set up sawhorses or another support for your boards. This allows you to easily paint the edges of the pine boards and catch any drips before they dry. You could use a stack of books to support the boards, if you don't mind painting low to the ground.
Step 3
Fill any knot holes or other imperfections with a wood filler and a putty knife. Allow the wood filler to dry. Sand it smooth with 180-grit sandpaper.
Step 4
Sand the entire raw wood surface using a fine-grit sandpaper (180- or 200-grit). This is a required step, even if you purchased pine boards that feel smooth. Sand in the direction of the wood grain to avoid scratching the wood. Remove all sanding dust with a tack cloth or damp rag.
Step 5
Apply an oil-based stain-blocking shellac primer, using a natural-bristle paint brush. If there are a small number of knots in the wood, you can choose to prime only the knots. If there are many knots or other stains on the board that may bleed through your finish, prime the whole board. Use long, smooth strokes, starting with the edges of the board, and watch for any drips or runs. Allow the primer to dry fully, then apply a second coat of primer. Prime all surfaces you will be painting. This may mean you flip the boards over and prime the underside once the top side is fully dry.
Step 6
Clean your brush with mineral spirits, ensuring that all primer is gone from the bristles.
Step 7
Sand the primed board with 180-grit sandpaper to ensure a smooth surface for the paint, since the primer will have raised the grain in the raw pine board. Remove all dust with a tack cloth or damp rag.
Step 8
Apply a thin layer of paint, using a natural-bristle brush if you are using an oil-based paint and a polyester or nylon brush for latex paint. Start with the edges of the board, and always use smooth, long strokes. Allow the paint to dry. Flip the board over and paint the underside if necessary. Allow to dry. Repeat these steps for a second coat of paint. Allow the paint to cure before using your pine board.
Step 9
Clean your brushes. Store or dispose of leftover primer and paint according to the directions on the can.
Tip
Pine boards are very soft and will scratch and dent over time, affecting your final paint finish. Oil-based paints never stop curing, continuing to get harder and eventually brittle. Latex paints cure over a defined period of time, usually 14 to 30 days. Extend the life of a surface covered by latex paint by ensuring that the paint has fully cured before you use the boards. Check your paint can to confirm curing times.
Warning
Always paint in a well-ventilated area.
Do not use exterior paint for wood boards that will be used indoors or interior paint for exterior paint jobs.
Video of the Day