Things You'll Need
Wire cutters
Wire strippers
Flat-bladed screwdriver

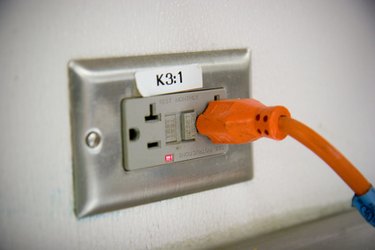
Wall outlets must be connected to an electrical circuit in your home in order to provide power to devices that are plugged into it. If you want to control the flow of electricity going to a wall outlet, you can wire the outlet to an ordinary wall switch to control the flow of current. The wall outlet and any electrical devices connected to it, like power tools, will be dependent on the switch being set to the on position before they can operate.
Step 1
Turn off electricity to the circuit you'll be working on at the breaker box. If you don't know which breaker controls the circuit, plug a lamp into the outlet, turn it on and see which switch turns off the lamp.
Video of the Day
Step 2
Cut the power cable leading to the outlet at the location where you want to install the switch. Remove 2 inches of the power cable's outer jacket from each side of the cut, exposing the black and white insulated wires inside the cable. Strip 1/2 inch of insulation from each wire.
Step 3
Loosen the screws on the side of your switch with the screwdriver. There are two on each side of the switch. The screws on one side will be silver, and on the other, brass-colored.
Step 4
Slide the bare ends of the black and white wires onto the wire leading to the outlet underneath the lower screws on the switch--the end of the switch with the off position. Place the black wire under the brass screw and the white wire under the silver screw. Tighten the screws with a screwdriver to hold them in place.
Step 5
Hook up the wires leading to the power source to the other end of the switch.
Step 6
Turn the power on and test the switch's operation.
Warning
Never attempt to work on a live electrical circuit.
Video of the Day