Things You'll Need
Extension ladder
Pry bar
Work gloves
Safety goggles
Reciprocating saw with metal cutting blade
Utility trailer
Pliers
Vinyl cladding removal tool
Hammer
Small bucket

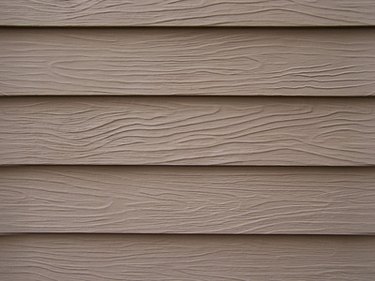
Cladding is another name for home siding that is installed over the plywood exterior of a home for added insulation and decoration. Cladding is made from several different materials, such as wood, vinyl and fiberboard. Each form of cladding is removed in a slightly different way. Removing siding takes almost as long as hanging it, so be prepared to work on this project for several days.
Wood
Step 1
Start at the top of the wall. Line up the extension ladder so you can reach the top of the wall. Move the utility trailer against the wall to catch the boards as you drop them.
Video of the Day
Step 2
Place the pry bar under the wood cladding piece and jiggle slightly to loosen it. Repeat this process in several places until the cladding is hanging about ½ inch out from the piece it was originally nailed to.
Step 3
Slide the reciprocating saw with the metal cutting blade under the cladding piece. Saw the nails loose. You will remove them completely later.
Step 4
Remove the cladding from the wall and throw it into the trailer.
Step 5
Remove the rest of the nail piece with pliers.
Step 6
Complete all steps above until all of the cladding and nails are removed. It may be necessary to remove and replace insulation before installing the new cladding. If the insulation is moldy, then it should be removed. Pull the insulation directly away from the wall and throw away.
Vinyl
Step 1
Locate a seam between two vinyl cladding pieces.
Step 2
Slide a vinyl cladding remover tool between the two pieces along the bottom of the seam. Jiggle the tool slightly to release the bottom of the cladding piece, exposing the nails of the piece below. Release all of the cladding pieces that you intend to remove in the same way.
Step 3
Use the back end of the hammer to pry the nails loose.
Step 4
Drop the cladding pieces into the utility trailer below and place the nails in a bucket to prevent them from injuring anyone or from puncturing tires.
Fiberboard
Step 1
Use a pry bar to remove the nails from the metal caps holding the cladding place at the ends of each wall where the cladding pieces meet.
Step 2
Pull the metal end caps straight down to remove them. It may take a little work to free them from the paint.
Step 3
Use the pry bar to free the piece of cladding above the one that needs to be removed. If this is the very top piece of cladding, this step is not necessary. Pry the cladding piece about ½ inch loose.
Step 4
Push the cladding back against the wall to expose the nail head. Use the pry bar, or the back of a hammer, to pull the nails the rest of the way out. Place the nails in a small bucket.
Step 5
Wiggle the piece of cladding and it will come loose from the wall. Repeat these steps for all cladding that needs to be removed or for all of the pieces if you are replacing the entire house.
Video of the Day