Things You'll Need
Replacement sewing machine foot control
Replacement sewing machine power cord
Tweezers
Scissors
Paper towels
Anti-grease liquid dish detergent
Water
Citrus-based oil and gunk dissolver
Sewing machine oil
Replacement belt
Since 1850, Isaac Merritt Singer has helped sewers create projects quickly and beautifully. Sewing machines have many common problems. Slow-running machines can often be repaired by troubleshooting for a few easy-to-fix issues. According to Sewing Machine Tech, 2.5 percent of sewing machine problems are electrical, 15 percent are caused by a lack of lubrication and 22 percent are caused by a lack of cleaning. Check the steps one at a time, testing after each step. If you've completed the steps with unsuccessful results, take your machine to the repair shop.
Step 1
Unplug the power cord and insert the replacement cord. Test the machine.
Video of the Day
Step 2
Unplug the Singer machine foot control and insert replacement foot control. Test the machine.
Step 3

Open the bobbin case and the main motor access, which is usually a lift-open door. According to Sewing Machine Tech, the leading causes of a sewing machine running too slow are the following: "Thread jam, Incorrect oil or lubricant used, Not lubricated correctly, Machine unused for long time - Gummed up, Belt too tight or too loose, Machine needs thorough cleaning, Worn or bent parts."
Step 4
Unplug the machine. Look for thread wrapped around the motor shafts or any other motor or bobbin part. Use tweezers to lift thread to snip with scissors. Use tweezers to pull the thread away from the machine parts. Plug in the machine and test.
Step 5
Unplug the Singer machine. Remove the bobbin and insert a newly wound bobbin. Blow the dust from the bobbin area. Use tweezers to pull out any thread pieces in the bobbin area gears. Plug in machine and test.
Step 6

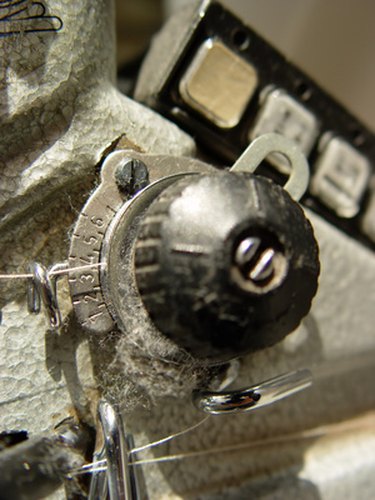
Unplug the machine. Open the motor compartment. Look for any oil accumulation due to lint or dust. Wet a paper towel and add a squirt of anti-grease liquid dish detergent. Clean the buildup away. Dry with a paper towel. If the gummy substance persists, use a paper towel with a citrus-based gunk dissolver to saturate the area, then remove the substance. Dry with a towel. Plug in the machine and test.
According to the 20U Singer Sewing Machine manual, "How often you will need to clean and lubricate the machine will depend on how often you will use it. When in regular use, the machine should be cleaned periodically to remove lint and fluff which may have accumulated around the working parts."
Step 7
Unplug the machine. Open the motor compartment. Place a paper towel beneath the pressure foot, covering the arm/table of the machine. Put the sewing machine oil nozzle against the motor shaft (a long arm that goes up and down) and squirt a drop of oil. Squirt a drop of oil against any moving cog, wheel or part. Use the hand wheel to manually move the Singer machine gears, distributing the oil. Wipe excess oil away with paper towels. Plug in machine and test.
Step 8
Unplug the machine. Consult the Singer sewing machine manual for the belt replacement instructions and replace the belt. Belts that are too tight or too loose will slow the machine. Plug in the machine and test. If the machine continues to run slowly, take the machine to a Singer repair shop.
Video of the Day