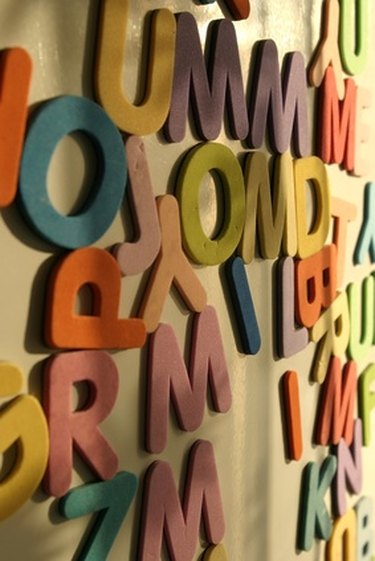
Cut-out letters can serve a variety of functions, such as teaching the alphabet. Use them as stencils for painting and attaching them to posters. Give students or your children the letters and have them color them in before placing them on posters. There are websites where you can buy letter stencils in a variety of fonts, or you can print off your own block letters for free; from this point forward, cutting the letters out is a simple task that yields many possibilities for their use.

Video of the Day
Things You'll Need
Printer
Pencil Or Pen
Poster
Paper-Cutting Scissors
Glue Stick
Step 1
Visit www.alphabet-soup.net/ttools/stencil/ (or www.enchantedlearning.com/letters/big/) to print out block letters. Double click on the letters to pop out a window that you can print from. Some computers may have pop-ups disabled. If so, right-click on the bar at the top of your screen and select "temporarily allow pop-ups." Click on the letter again, if necessary to print it out. Continue this process to print out all the letters you need for your poster.
Video of the Day
Step 2
Cut out the letters, following their outline, from the pages you print. These letters are blank and can be used as is, decorated, or traced onto a different sheet of paper to be cut out before they are put on your poster. Any paper will do, but shiny wrapping paper works well for a decorative appearance. Hold the letter on to the paper, and trace around it with your pencil. If the pencil doesn't show up, use a pen. Cut around the outline you made.
Step 3
Place your cut-out letter face down, and apply the glue stick to the back of the letter. Turn the letter over and press it down firmly, face up, wherever you want it positioned on your poster. Repeat this process with your remaining letters.