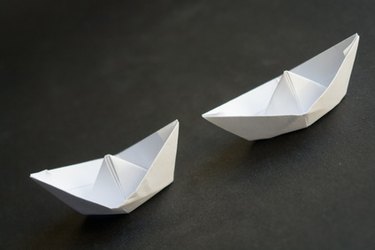
Sailor hats are fun costume pieces that can be made with a large rectangle sheet of butcher paper or with newspaper. Add nautical insignia cut from colored paper to give the hat detail. Get the kids in on the action–they'll help design, cut and fold the homemade sailor hats for their imaginary voyage. Bon Voyage.
Step 1
Fold the paper in half by bringing shorter sides together. Fold it with the shiny side in. Lay it on the table with the folded edge away from you.
Video of the Day
Step 2
Fold the top two corners down at an angle until two sides of the top edge meet in the middle. Crease these folds.
Step 3
Fold up the bottom edge to cover the bottom of the two triangular flaps that were folded down. Crease this fold. Turn the paper over and repeat this fold on the other side. You now have a large triangle.
Step 4
Grasp the triangle by the outside corners and bring them together forming a square shape. Flatten this square. This is one type of sailor hat.
Step 5
Lay the square on the table with the open point down. Fold the top layer of the bottom point up to the top point. Crease this fold. Turn the paper over and repeat this fold.
Step 6
Grasp the two folded up points and pull them out gently. The side edges of the hat should fold up forming a sailor hat with a turned up brim.
Tip
If you stop before folding up the brim of the hat, staple or tape the ends of the last flold together to keep the hat from unfolding.
Video of the Day