Things You'll Need
Corn starch
Small wire whisk
Small disposable bowl
Large mouth air-tight container

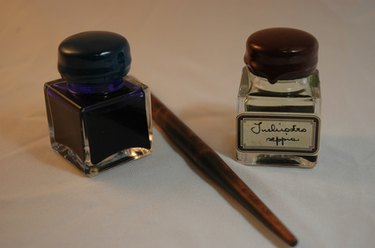
Ink is a versatile arts and craft medium. It is used in everything, from technical pens to print making, and comes in a wide variety of colors and consistencies depending on your needs. However, you may find that the ink you have is too thin for what you are trying to do. You can either purchase new ink with a higher viscosity, or you can thicken your ink. Thickening your own ink not only saves you money but can give you the satisfaction of having a hand in the materials of your finished product.
Step 1
Pour the desired amount of your ink that you want to thicken into a disposable bowl.
Video of the Day
Step 2
Whisk in very small amounts of corn starch. Start by just sprinkling it on while you whisk and add more as necessary.
Step 3
Continue whisking your ink and adding corn starch until you reach the desired thickness.
Step 4
Pour your thickened ink into an air-tight container. You may need to use the whisk to push it into the container. Your ink is now ready to use.
Step 5
Discard the disposable bowl and clean the whisk. If you are using water-based ink, soap and water will suffice; but if you are using oil-based ink, you will need a cleaner designed for removing oil, such as a solvent.
Step 6
Store your thickened ink in a cool place away from light when you are finished using it.
Tip
Gum arabic is also a suitable thickener for some inks.
Warning
Immediately wipe up any spilled ink to prevent it from staining. If it is on fabric, consult the cleaning recommendations for the fabric. Always work over a covered area or where it is okay to drop ink on as it is very hard to remove spots or spills from surfaces once dry.
Video of the Day