Things You'll Need
Wire hanger
Ruler
Marker
Pencil
Thin cardboard
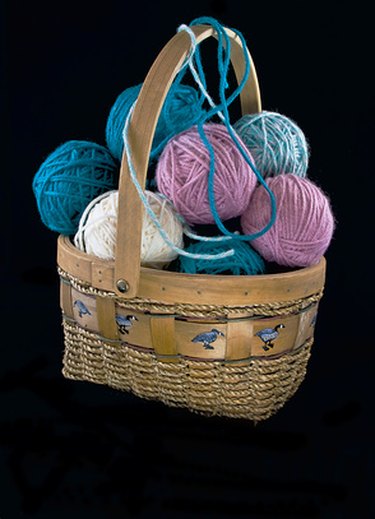
1 skein of 4-ply yarn in the color of your choice
¾-inch black pom-pom
2 googly eyes that measure 15 mm
Hot glue gun and glue
1-inch square of red felt

Crafters that like to knit or crochet often find themselves with leftover yarn that no longer serves a purpose. When this is the case, make a yarn dog with a coat hanger. Making a yarn dog is inexpensive and can make a good gift for small children. In addition, this project is a good way to use recycle and reuse wire hangers from the dry cleaner for which you otherwise may not have a use.
Step 1
Straighten the wire hanger vertically so the crook of the hanger is at the top. Do not untwist the wires to straighten the hanger out. Simply pull down on the bottom long part of the hanger so it forms a diamond that gets thinner as you pull on it.
Video of the Day
Step 2
Bend the crook of the hanger so the wire forms a circle and the end of it meets the part of the hanger where the wires begin to twist.
Step 3
Form the front legs. Measure four and a half inches down from where the wire on the hanger begins to twist. Then, bend the wire up at a 45-degree angle.
Step 4
Form the body of the yarn dog. Measure three and a half inches from where you made the bend in the hanger, and bend the wire down at a 90-degree angle.
Step 5
Form the back legs. Measure three and a half inches from where you made the bend in the hanger to form the body, and bend the wire down at a 90-degree angle.
Step 6
Form the yarn dog’s tail by measuring three and a half inches from where you made the bend in the hanger to form the back legs, and bend the wire up at a 45-degree angle. Make sure the dog’s tail ends at a point higher than its body.
Step 7
Give the dog form some extra body. Since you straightened the hanger, you have two wires that run parallel to each other. Gently separate the wires from each other so there is a gap between them so the wire form can stand independently. When you are finished separating the wires, make sure the parts considered the legs are stable.
Step 8
Cut the cardboard into a rectangle that is two and a half-inches high and four-inches wide. Measure an inch into the width of the piece of cardboard you cut and cut out quarter-inch-long notches.
Step 9
Make yarn ties. Wrap the yarn around the width of the piece of cardboard 20 times. Cut the yarn along the bottom of the cardboard to make stings with which you can tie the other pieces of yarn. Repeat this step until you have about 150 ties.
Step 10
Make the yarn dog’s ears. Place one end of a yarn tie in one notch you made in the cardboard, and place the other end of the tie in the other notch. Tie the yarn around the long end of the cardboard 20 times. Carefully release the tie from the notches, slide it to the end of the cardboard and tie it tightly around the yarn. Repeat this step to form a yarn bundle for the second ear.
Step 11
Make yarn bundles for the dog’s body. Wrap the yarn around the width of the cardboard 20 times, as you did to make the ties. Then, carefully slide the yarn off the cardboard and onto a tie. The tie should be perpendicular to the bundle of yarn, so it makes a T-shape. Tie the bundle with the piece of yarn tightly. Repeat this step until you have approximately 150 of these bundles.
Step 12
Form the dog’s face and head. Tie about eight bundles of yarn on the front of the wire loop. Tie the two ears at the top of the loop, and continue to tie bundles onto the loop until there is no more room.
Step 13
Form the dog’s face and head. Tie about eight bundles of yarn on the front of the wire loop. Tie the two ears at the top of the loop, and continue to tie bundles onto the loop until there is no more room.
Step 14
Glue the googly eyes to the front of the head using hot glue.
Step 15
Glue the small black pom-pom to the front of the dog’s face to form its nose.
Step 16
Round-out one end of the red piece of felt. Glue it under one of the bunches of yarn so it looks like the dog is sticking its tongue out.
Step 17
Trim down the ends of ties that are sticking out from the dog so they are not visible.
Video of the Day