Things You'll Need
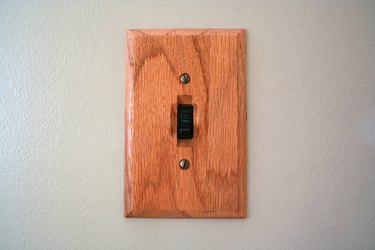
Light switch cover
Tesserae pieces (ceramic, glass, mirror, etc.)
Grout
Adhesive glue
Rag
Drinking straws

Using mosaic to decorate the light switch cover is a craft that will allow your creativity and imagination to run wild. You can match the light switch cover to the decor in the room or create new designs to give away as gifts. Once you have mastered the craft, you could consider selling the light switch covers at craft shows. Experiment with using different types of tessera, the small pieces of ceramic, glass and mirror that make the surface design of the mosaic.
Step 1
Plug the holes of the light switch cover with drinking straws.
Video of the Day
Step 2
Cover the surface of the cover with an adhesive bas,e working in small sections. Choose an adhesive specifically for mosaic creation. Mosaic glue can be found at most local arts and craft stores.
Step 3
Apply pieces of tesserae to the adhesive in whatever design you desire. Press down firmly on the pieces to secure.
Step 4
Allow the mosaic to sit for at least 12 hours.
Step 5
Mix the grout with water following the directions on the container, or buy pre-mixed grout. Your grout should have the consistency of thick cake frosting.
Step 6
Cover the top of the mosaic entirely in grout. Be sure to fill in all of the cracks between the tesserae pieces.
Step 7
Let the grout sit for 5 to 10 minutes, then wipe off the excess grout using a damp cloth.
Step 8
Allow the mosaic to sit overnight, and wipe the surface again with a damp cloth until all grout and adhesive is removed from the surface of the tesserae pieces.
Tip
Experiment with different colors and shapes. Keep the mosaic simple with square pieces of tile next to one another in organized lines, or create bold patterns with smaller, oddly-shaped pieces.
Warning
Always exercise caution when handling pieces of broken glass, mirror and ceramic.
Video of the Day