Things You'll Need
Adjustable pliers
Screwdriver

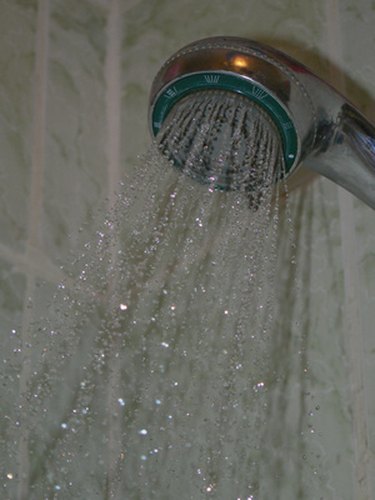
Many homes have low-flow faucets and showerheads to conserve water while taking a shower. The low-flow faucets have a reducer in them to allow the water to flow only at a certain rate. This can lead to a small stream of water in the shower that you may not like. The entire home's water pressure can be adjusted to a higher or lower flow rate on the water pressure valve.
Step 1
Locate the water pressure valve for your home. The valve is on the main water line leading into your home. If you have city water, the valve may be on the house side of the meter box. Pressure valves are often in the basement or the crawl space under your home and have a brass bell-shaped area with an adjustment screw on top.
Video of the Day
Step 2
Place a pair of adjustable pliers on the lock nut under the adjustment screw. Turn the lock nut completely counterclockwise to loosen it.
Step 3
Insert a screwdriver into the top screw. Turn the screw clockwise to increase water pressure or counterclockwise to decrease water pressure in your home. Test the water pressure in the area of the home that you want to adjust. Make small, incremental adjustments and test the water pressure after each one to obtain the amount of pressure you want.
Step 4
Tighten the lock nut clockwise with a pair of adjustable pliers to save your new water pressure setting.
Tip
The adjusting nut on a water pressure valve is a left-hand nut. Turning it clockwise increases water flow and counterclockwise decreases water flow.
Decreasing water pressure saves water and reduces your water bill.
Increasing water pressure too high can cause older pipe fittings to loosen, break, or leak.
Warning
After adjusting the water pressure to a higher rate of flow, listen and visually check pipes to make certain that they do not break under the additional force of the water.
Video of the Day