Things You'll Need
Replacement bulbs
Light tester

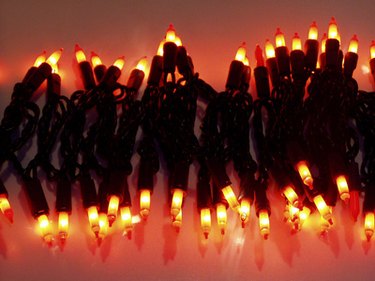
Icicle lights are dangling decorations for the roof or eaves of your home. Many people use icicle lights but are unsure how to repair them if lights sporadically flicker or the strand fails to work. Whether repairing one broken light or troubleshooting the entire strand, repair your lights safely and quickly. If you learn basic bulb repair techniques, you can fix your lights with confidence and save money by using the same set year after year.
Manual testing
Step 1
Plug in the lights indoors to examine them before stringing. It is simpler to replace a bulb or make repairs to a strand if you do not have to do so while standing on a ladder.
Video of the Day
Step 2
Locate broken, burned out or missing light bulbs.
Step 3
To replace these bulbs, grasp the bottom of the icicle light holder with one hand, squeezing both sides together.
Step 4
Pull the light straight out from the cap. Throw away the old bulb.
Step 5
Select a new light bulb. Fold the wires on the bulb so they are flush to either side of the bulb’s socket. Do not twist or break the wires.
Step 6
Insert the new bulb into the socket. Test the light by plugging in the strand. If the bulb fails to light, unplug the strand and push the light further into the socket before retesting.
Video of the Day
Light tester
Step 1
Plug in your icicle lights.
Step 2
Point the light tester at each individual bulb, starting at one end of the strand. When the tester lights up, the bulb it is pointing at is receiving power. When the tester fails to light, replace the bulb.
Step 3
Replace any defective bulbs. If large sections of lights are not getting power, part of the strand’s circuit has gone bad. This means you will need to replace the entire strand.
Warning
Do not connect more than three strands of lights together. This could result in blown fuses or light bulbs.