Things You'll Need
Drop cloth/tarp
Radiator bleed wrench
Wrench
Pliers

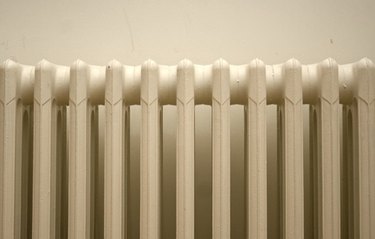
Disconnecting a radiator, whether it's for remodeling or servicing, isn't a difficult project, but care needs to be exercised. These heaters work by circulating warm water through the radiator body, which warms the surrounding air. This water is then returned to the boiler to be heated up again. In order to disconnect a radiator, you first have to shut off the water supply valves. Then the water is drained. Following that, the radiator can be safely removed.
Step 1
Place a dust cloth or towel over the floor or carpet beneath the radiator to protect it. This step may be omitted if you are removing the radiator during a remodel.
Video of the Day
Step 2
Turn off the heating system, either at the boiler or by turning off the power to the heating circuit. Allow the water inside the system to cool for about an hour.
Step 3
Close off the valves at either end of the radiator. These are the supply and return valves. One will usually have a manual adjustment knob that you can turn by hand, while the other will have to be shut with a wrench.
Step 4
Use a radiator bleed wrench to open up the bleed screw. This will allow air into the system and allow your radiator to drain easier.
Step 5
Place a bowl or other container beneath the drain valve. These valves can usually be found on the radiator side with the valve that requires a wrench to adjust. Allow the water inside to drain out. Close the drain valve if you need to dump out the water in the bowl.
Step 6
Grip the intake pipe with a pair of pliers. This will steady it and prevent damage when unscrewing the radiator. With a wrench, loosen the union coupling joined to the intake pipe. Repeat this process for the outlet valve.
Step 7
Unscrew the radiator from any brackets holding it to the wall.
Warning
Exercise caution when opening the radiator, as the water inside may still be hot.
Video of the Day