Things You'll Need
Towels
Sponge
New flapper valve
Silicone grease
New fill valve
Wrench
Pliers
Plumber's tape

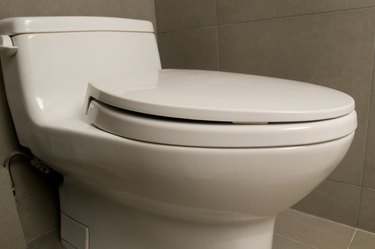
For more than 130 years, American Standard has been producing a number of different bathroom and kitchen fixtures. Their line of toilets include the American Standard Plebe range. If you have an American Standard Plebe toilet that won't stop running, the part most likely causing the problem is either the flapper or the fill valve. It's an easy test to figure out which one is the issue. The repair process is almost as easy.
Broken Flapper Valve
Step 1
Open up the top of the tank. Press your hand down against the flapper and hold it there for about a minute. If the toilet stops running, then the flapper is your problem and should be replaced. If not, then the problem is the fill valve (Section 2).
Video of the Day
Step 2
Turn off the water supply for the toilet. This can usually be done at the water supply valve located on the wall behind the toilet. Turn the knob clockwise to shut off the water. Flush the toilet and keep the handle depressed until all of the water runs out.
Step 3
Unhook the top of the flapper chain from the handle lever. Unsnap the ends of the flapper from around the mounts on the overflow tube.
Step 4
Turn the new flapper over upside down. Apply a thin coat of silicone grease to the lip of the flapper.
Step 5
Turn the flapper right side up. Press it into place in the mount by the overflow tube. You will hear it snap into place. Connect the other end of the chain to the flush valve lever.
Step 6
Turn on the water supply. Allow the tank to fill. Flush and check your work.
Broken Fill Valve
Step 1
Turn off the water supply for the toilet. This can usually be done at the water supply valve located on the wall behind the toilet. Turn the knob clockwise to shut off the water. Flush the toilet and keep the handle depressed until all the water runs out. Wipe up the water in the tank with the towel and sponge.
Step 2
Disconnect the float valve from the top of the fill valve by unscrewing it.
Step 3
Unscrew the water supply coupling from the bottom of the tank at the fill valve inlet. Unscrew the plastic retaining ring that sits flush against the bottom of the tank. This holds the fill valve in place in the tank above.
Step 4
Pull out the fill valve. Insert the new fill valve assembly into the tank, ensuring that the bottom of the fill valve sits tight against the bottom of the tank. Hold this with one hand.
Step 5
Insert and tighten the retaining ring on the bottom of the tank inlet with your other hand. Reattach the float valve.
Step 6
Wrap the inlet on the fill valve with plumber's tape. Trim with scissors.
Step 7
Connect the water supply hose at the inlet. Tighten with the wrench.
Step 8
Restore the water supply. Allow the tank to fill. Flush and check your work.
Video of the Day