Things You'll Need
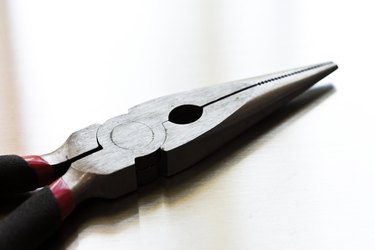
Needle-nose pliers
Tape measure
Weatherstrip
Utility knife
Putty knife
Silicone caulk
Caulk gun

Patio doors are convenient during the summer months. It is often not until the winter months that you notice drafts coming in around the edges of the doorway--those drafts cost money in the form of higher heating and cooling bills. There are two culprits at play with a drafty patio door, faulty weatherstrip and insufficient or poorly applied caulk. Replacing these will fix the problem in the majority of cases.
Step 1
Open the door. Locate the weatherstrip on the inside door frame--there is usually one strip along the top and another down the side. Pull the weatherstrip out of the channel with a pair of needle-nose pliers.
Video of the Day
Step 2
Measure the length of the side channel inside the door frame with a tape measure. Cut a piece of the replacement weatherstrip to that measurement with a utility knife. Starting at the bottom of the channel, push the grooved side of the weatherstrip into the channel with your fingers.
Step 3
Measure the length of the upper channel. Cut a second piece of weatherstrip to this length. Beginning at an upper corner, push the replacement weatherstrip into the upper channel with your fingers.
Step 4
Step outside and remove any old caulk that lines the circumference of the outer patio door frame where it meets the house, using a putty knife.
Step 5
Apply a 1/4-inch bead of silicone caulk around the door frame with a caulk gun. Close the patio door when you are finished and allow the new weatherstrip to mold to the door's contours. Keep the door closed for 24 hours before using.
Tip
Replacement weatherstrip and silicone caulk are available at home improvement centers.
Video of the Day