Things You'll Need
Picture or image
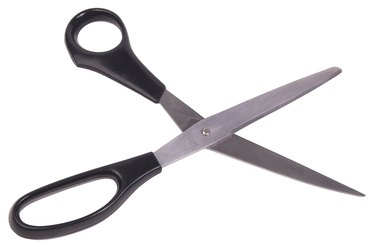
Scissors
Clear acrylic caulk
Latex gloves
Wood
Rubber roller
Bowl

Imprinting pictures onto wood makes for a personalized and memorable gift or decoration. You can imprint a photo of a loved one or your favorite picture from a magazine onto a piece of wood to hang from a wall or turn into a picture frame. The process involves separating the ink of the picture from the paper on which it is printed, leaving only the image on the wood. It takes a steady hand to ensure you don't degrade the image.
Step 1
Cut the picture you want to imprint with scissors to size. Eliminate any parts of the image that you don't want to use.
Video of the Day
Step 2
Spread clear acrylic caulk all over the front of the image in an even, fine layer. Wear latex gloves on your hands to spread the caulk out and remove any missed spots and clumps.
Step 3
Turn the image over carefully and lay it on top of the wood surface.
Step 4
Spread the image out with your hand and press it firmly into the wood. Start from the middle of the image and work slowly outward in circles until you reach the edges. Don't use too much pressure to avoid tearing the paper.
Step 5
Run a rubber roller over the image several times until you are sure it is securely attached to the wood. Let the image dry on the wood for an entire day.
Step 6
Dip your fingers into a bowl of water and rub them into the paper on the back of the image. Start in the middle of the paper, rubbing lightly until the paper peels away to reveal part of the image.
Step 7
Remove all of the paper backing until the image is visible, dipping your fingers into the water when they start to dry. Do not rub the image with too much force or you will remove the ink.
Tip
You can remove varying amounts of the paper to give an old-time effect to your imprint.
Warning
Do not attempt to remove the backing paper before the caulk is completely dry or the ink will release with the paper.
Video of the Day