Things You'll Need
Measuring cup
Solid or liquid
Flat metal spatula, optional

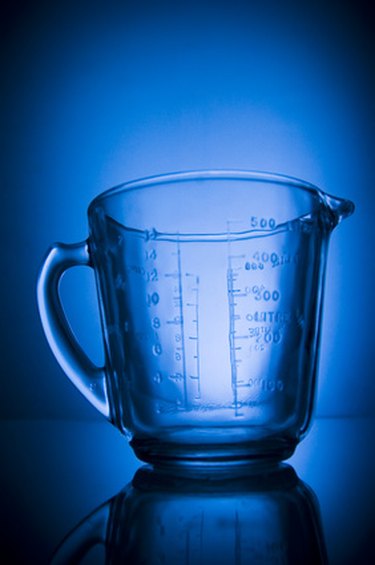
Measuring cups come in glass (Pyrex), plastic or stainless steel. They can be jug shaped, with the measures stamped on the side, or in small, specific-sized scoops with the measures stamped on the sides or handles. The jug-shaped cups have measures for liquids and solids and show incremental measures, whereas the small scoops may not.
Step 1
Scoop or pour the item you wish to measure into the measuring cup, generally scooping for dry goods and pouring for liquids. Use the cup measurements for dry goods and the fluid ounce or milliliter amounts for liquids.
Video of the Day
Step 2
Put the measuring cup on a level surface and look at it levelly so that your line of sight is horizontal to the line of measure you wish to get.
Step 3
The surface of the item being measured should be parallel to the top of the measurement line. If it isn't, remove or add more as needed.
Step 4
Smooth the surface of a dry good with your hand, a spoon or the flat edge of a straight metal spatula if the measure is to the top of the cup.
Step 5
Add your measured product to the recipe as specified. Use a scrapper to remove liquids if necessary.
Tip
For home baking, specific-sized cups are generally more precise, because you fill them to the top rather than trying to make the substance even with a line. Also, if a recipe calls for 1 1/4 cup flour, for example, it is easier to use a 1 cup scoop and a 1/4 cup scoop.
Professional bakers use scales for measuring by weight rather than volume, which is more precise than measuring with cups. If you bake often or are making complex items, a scale is a good purchase.
Warning
Sometimes a recipe calls for packing down a dry good, for instance, brown sugar, but unless the recipes specifically states that, do not do it. Flour, in particular, is measured loosely, and packing it down so that you add more to the recipe will adversely affect your baked product.
Video of the Day