Things You'll Need
Polymer clay
Clay cutter
Metal knitting needle/skewer
Baking sheet with side rims
Tin foil
Oven
Paint sponge
Permanent enamel surface conditioner
Permanent enamel clear gloss glaze

Making polymer clay beads is a creative way to add a designer touch to your jewelry. On its own, polymer clay has a colorful but dull finish, but you can make polymer clay beads shine by applying one of several products designed to add a glossy finish. To make sure the product you select is compatible with polymer clay, test it on cured clay before using it on your beads. Enamel-based products, certain floor shine products and specific spray shine products will work on polymer clay and can be less expensive than the clay glaze offered by clay manufacturers.
Step 1
Condition a small amount of polymer clay with your hands by working it with your hands until moldable. Roll the conditioned clay between your palm and a hard surface to create a snake.
Video of the Day
Step 2
Slice the snake to make individual beads. Insert a metal knitting needle or metal skewer through beads to make a hole. Leave the beads on the skewer. Place as many beads as you can on each needle, while leaving at least 2 inches open at each end to prop on the baking sheet.
Step 3
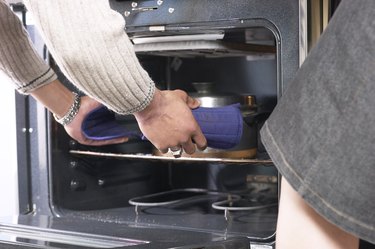
Line a rimmed baking sheet with tin foil. Prop the needle/skewer on the rim so that the polymer clay beads are suspended. Bake the beads according to the clay manufacturer's specifications. Allow the beads to cool in the oven to help prevent cracking.
Step 4
Remove the cured, cooled beads from the oven. Leave them propped on the baking sheet.
Step 5
Cover the cured beads with a permanent enamel surface conditioner using a paint sponge. Allow the conditioner to dry.
Step 6
Paint permanent enamel clear gloss glaze onto each bead within four hours of applying the surface conditioner. You can use a paint sponge to apply the glaze and avoid brush marks. The clear gloss glaze will make polymer clay beads shine. Allow the glaze to dry for one hour.
Step 7
Apply a second coat of the glaze. Let it dry, then remove the beads from the needle/skewer.
Video of the Day