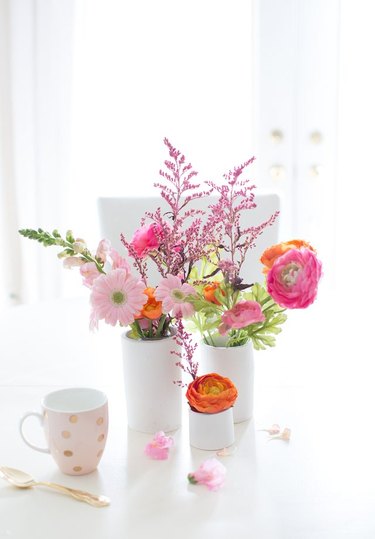
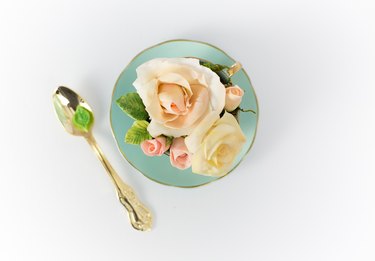
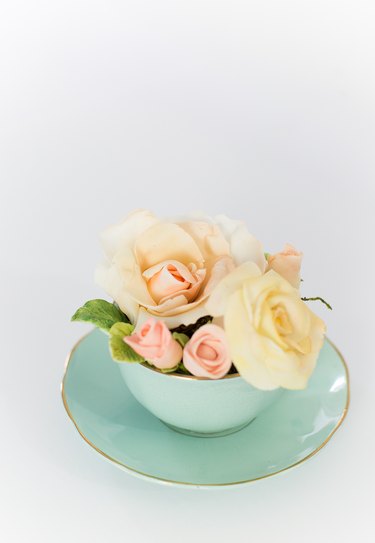
This air drying clay is referred to as cold porcelain because it dries to resemble real porcelain. But unlike polymer clay, it's non-toxic and does not need to be cooked or cured. A favorite of many artists, cold porcelain allows you to create simple projects such as this clay vase, or very intricate pieces where you can add delicate details to your sculpture.
Video of the Day
eHow may earn compensation through affiliate links in this tutorial.
Video of the Day
Things You'll Need
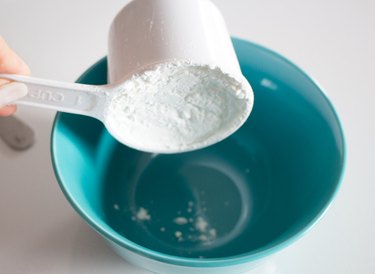
1 cup of cornstarch
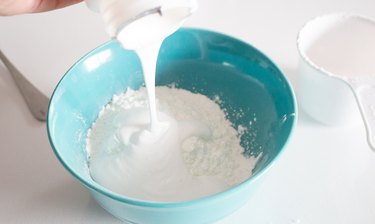
1 cup of white glue
2 tablespoons of lemon juice
2 tablespoons of baby oil
Hand lotion
Airtight plastic container
Microwave safe container
Step 3
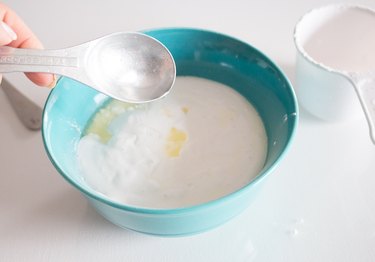
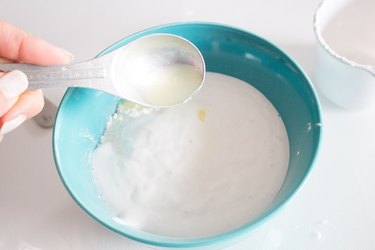
Place 2 tablespoons of lemon juice into bowl.
Step 5
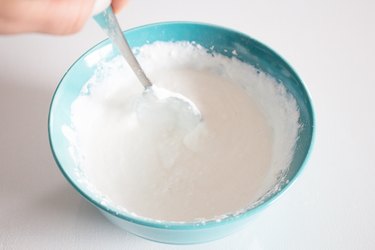
Slowly mix all of the ingredients together until you achieve one cohesive mixture.
Step 6
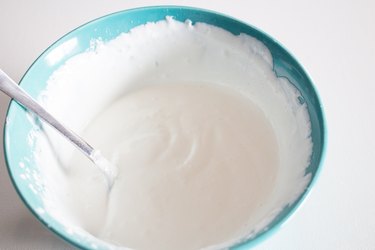
Continue stirring the mixture for approximately five minutes, or until the majority of the lumps have disappeared.
Step 7
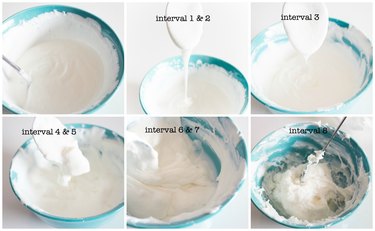
Once lumps have disappeared, place the bowl into your microwave and heat for 15 seconds. Remove the bowl from the microwave and stir continuously for 1 minute. Repeat the 15 second heating/1 minute stirring technique eight times.
Tip
Microwave temperatures vary from brand to brand, so pay close attention to your mixture and do not over heat. The mixture should go from a liquid form to a lumpy sticky ball.
Step 8
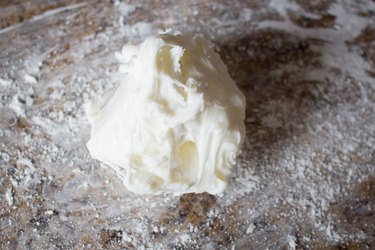
After you have heated and stirred your mixture 8 times, sprinkle starch or hand lotion over your work surface. At this time, also apply hand lotion or Shea butter on your hands so to avoid dough sticking to your fingers and hands.
Step 9
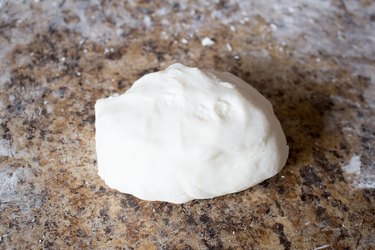
Knead the dough for approximately ten minutes or until it's no longer sticky.
Tip
You may need to re-apply lotion onto your hands throughout the process.
Step 10
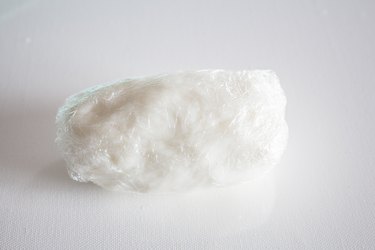
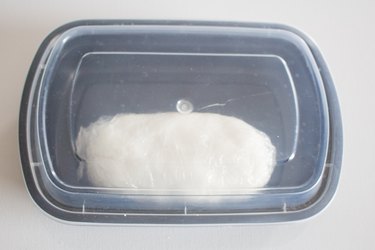
Wrap the clay in plastic wrap and place in an airtight container.
Step 11
Allow clay to rest for 24 hours, after which you can unwrap the clay and knead. Well made cold porcelain clay should be easy to mold and capable of sculpting very thin and delicate designs.
Step 12
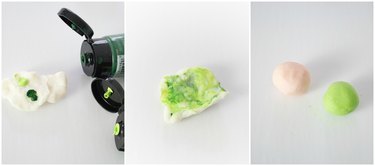
To tint your clay, simply apply acrylic paint right onto clay and knead until paint has mixed thoroughly with the clay.
Tip
The more paint you use, the deeper or saturated the color will be. However as most paints contain water, it's recommended to add the paint a little bit at a time to avoid your clay becoming sticky.
Step 13
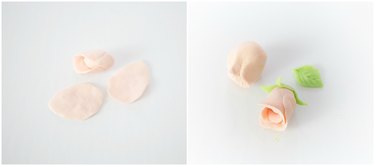
Once your clay is tinted, it's ready to be used. Mold your clay in desired shapes and allow to air dry. Clay will be completely dry in 24 hours, but it might take longer depending upon the thickness or size of the piece.
Tip
Easy to work with, cold porcelain is highly moldable, so any errors you may make can be easily corrected by simply adding moisture to the piece.
Step 14
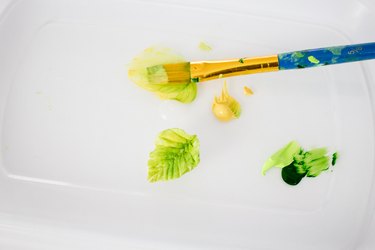
An alternative to pre-tinting the clay is to paint it once the clay is dry. To do this, simply allow clay to dry completely and use acrylic paint as desired.
Tip
To stick pieces together, you may need to apply a little water to each piece. Lubricating your piece with water while sculpting can help you a great deal.
Buy materials for this tutorial:
You Might Also Like
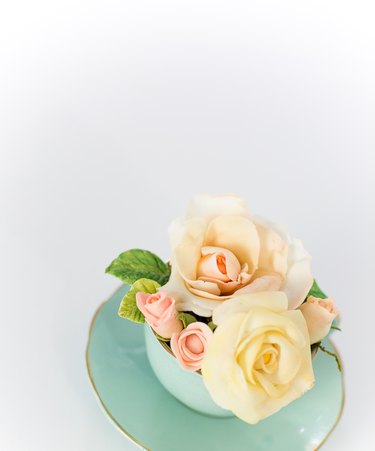
Use your porcelain clay to make a beautiful vase such as this simple, yet classic, design.
