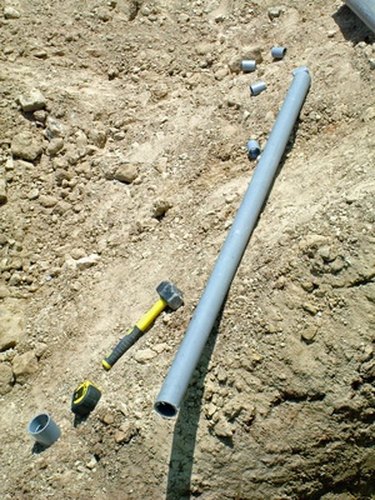
Things You'll Need
Pen and paper
Tape measure
PVC sewer pipe
PVC couplings
ABS sewer pipe
ABS couplings
CPVC sewer pipe
CPVC couplings
PVC primer
PVC cement
ABS cement
Hacksaw
Work knife
Tube cutter
Copper pipe
Tubing cutter
Emery cloth
Soldering paste
Small brush
Roll of solder
Propane torch
Rag

There are two types of plumbing pipes in a house: sewer waste pipes, and water supply pipes. Sewer pipes are made of ABS (acrylonitrile butadiene styrene) plastic, or PVC (polyvinyl chloride). Every house has a main sewer line attached to the city sewer line or private septic tank. Water supply pipes can be made of various materials, but the majority of them are made of copper, or CPVC (chlorinated polyvinyl chloride).
Step 1
Draw up a plan of both the proposed sewer line routes in the house, and also the water lines. Be aware of the location of the main sewer line, as well as the main water supply pipe. Also choose (depending on local codes and the expense of each) the type of materials you will use for both the sewer lines, and water supply pipes.
Video of the Day
Step 2
Connect PVC and CPVC pipe together with plastic couplings, and PVC primer and cement (glue). Mark the pipe with a felt tip pen where it needs to be cut. Saw through the PVC pipe with a hacksaw, making sure that the cut is straight. Remove any burrs with a work knife. For CPVC pipe, use a tube cutter to make a quick, clean cut. Apply PVC primer to the two ends of the PVC/CPVC pipe, as well as the inside of a coupling. Wait for the primer to dry — about 20 seconds. Then apply PVC glue to the primed pipe ends, and the inside of the coupling. Push the pipe ends into each end of the coupling, and hold for 30 seconds for the glue to dry. For ABS sewer pipe, cut it with a hacksaw, and use ABS glue to secure the joint (no primer is needed).
Step 3
Mark the copper water supply pipe where it needs to be cut. Place a tubing cutter around the pipe and lower the cutter's blade onto the mark. Rotate the cutter 360 degrees twice. Then tighten the blade and rotate the cutter again. Repeat this procedure until the pipe is cut through.
Step 4
Sand the ends of the cut pipe, and the inside of a copper coupling — use emery cloth. Then apply a thin layer of soldering paste to each sanded area, with a small brush. Push the pipe ends into each end of the coupling.
Step 5
Unroll 8 inches of solder from its spool, and bend the last three inches 90 degrees. Turn on the propane torch, and heat both sides of one seam of the coupling where one pipe enters the coupling. When the flux begins to sizzle, touch the tip of the solder to the seam. If it is hot enough to melt, apply 3/4-inch of solder around the seam. Wipe away any solder drips with a rag. Now solder the coupling's other seam following the same process.
Tip
With copper pipe installation, it is best to sand, flux and push together all pipe, before any soldering takes place. Then methodically solder the first coupling, before moving on to the next. Couplings, whether they are copper, PVC, ABS or CPVC, come in 30, 45, 60 and 90-degree angles to allow for the sewer/water supply pipes to be installed at various angles. Sewer pipes come in different diameters, from 1 1/2-inches to 4 inches, depending on what type of water fixture is being served. Vent lines are also attached to sewer lines near the water fixtures and run up through the wall cavity to the roof. This is so that gasses can escape from the sewer pipe. Horizontal sewer pipes are installed at a gradient to allow for waste to travel along the pipe. As these gradients can vary, check with the local city building department for the correct gradient in your area. Installing an entire plumbing system in a house is a large undertaking. Consult the city building department for all necessary codes, and have the city inspector guide you through, and OK, every section of the job.
Warning
Be aware of all flammable objects close to the soldering flame.
Video of the Day