Things You'll Need
Plastic roofing sealer
Foam coating
Trowel
Water-based adhesive
Paintbrushes
Rubber gloves
Eye protection
Old clothes

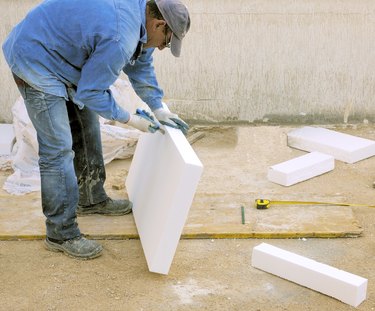
Styrofoam, on its own, breaks easily and is difficult to paint. Adding a coating over the Styrofoam gives it a more durable exterior and helps it accept painting and coloring. Coated Styrofoam is also likely to last longer than non-coated Styrofoam. There are three main options for coating Styrofoam, each offering a different finish effect.
Foam Coat
Step 1
Spread a thin layer of foam coating on the surface of the Styrofoam with a paintbrush. Allow the coat to dry for four hours. Do not allow anyone to touch the Styrofoam during the drying period.
Video of the Day
Step 2
Apply a second layer of foam coating as thickly as possible. Reach a thickness of about 1/8 inch or thicker. Allow the coat to dry for hour hours.
Step 3
Apply one last coat of foam coating to add smoothness to the Styrofoam. Spread the coating over the Styrofoam with a trowel. Allow the coating to dry overnight.
Roofing Sealer
Step 1
Paint a thin coat of roofing sealer onto the Styrofoam with a paintbrush to seal in any crumbles. Allow the paint to dry for two hours.
Step 2
Apply two more coats of roofing sealer on top of the seal coat. Allow each coat to dry for one hour between coats.
Step 3
Wait 24 hours before touching or painting the surface of the Styrofoam.
Adhesive Coat
Step 1
Apply a water-based adhesive coating with a paintbrush. Allow the adhesive to dry for two hours.
Step 2
Apply one additional coat over the surface of the Styrofoam. Use a trowel to smooth out the adhesive over the surface of the Styrofoam.
Step 3
Wait overnight or 24 hours before touching or working with the Styrofoam again.
Tip
Using a water-based adhesive coating produces a rubbery effect on the surface of the Styrofoam.
Warning
Wear eye protection and rubber gloves when working with any coating for Styrofoam.
Wear old clothes in case the coating spills onto your clothing.
Video of the Day