Things You'll Need
Rag
Plastic painting tarp
Tape
Blue interior paint (two shades)
Paint rollers and various brushes
Painting trays
Charcoal pencil or wave stencil
Pushpins
Sponge
White acrylic or interior paint

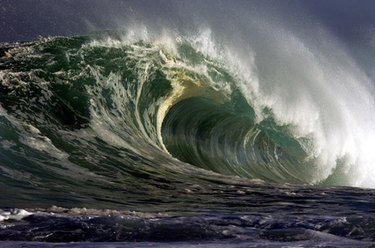
Ocean waves painted on a wall could create a variety of looks -- from a child's mermaid or pirate room to a beach-theme bathroom. Even if you don't feel overly artistic, creating this look yourself is simpler than many people would think. This project could be tackled in one day, depending on the size of the wall.
Step 1
Rub the preferred wall down with a wet rag to remove dust and other residue. Lay some plastic painting tarp on the floor in front of the wall and secure with tape to protect the floor from paint spatters.
Video of the Day
Step 2
Fill a painting tray with some paint that is a lighter shade of blue. Dip a paint roller into the paint and cover the entire wall with a solid coat. Allow to dry.
Step 3
Transfer the preferred wave shape across the wall. You can freehand this using a charcoal pencil or use pushpins to secure a wave wall stencil and trace it. (For a wave-shaped wall stencil that you can print out for free, see Resources.)
Step 4
Use a new paint tray to hold a darker shade of blue paint and use a paintbrush to outline then fill the wave with color. If you wish to paint the entire wall beneath the wave, use a roller. Allow to dry.
Step 5
Dip a sponge into some white acrylic or interior paint and dab it just beneath the crest of each wave shape. Also use the sponge to dab other wave-like shapes beneath the initial wave design in white and the lighter blue paint to give the mural depth.
Video of the Day