Things You'll Need
Motion-sensor floodlight
Blade screwdriver

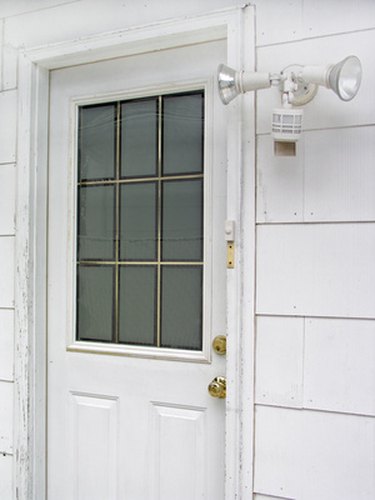
Motion floodlights consist of a motion detector unit that is commonly mounted below one or two floodlights as part of single fixture. Used around homes, farms, commercial properties, business and construction sites, motion floodlights can provide convenient lighting for night access or to help discourage unwanted visitors. Motion floodlights commonly feature controls that allow for fine tuning or adjusting the operation of the light. Taking the time to properly adjust a light is necessary to obtain the maximum effectiveness of the unit.
Step 1
Align the motion sensor unit that is attached to the floodlight. Position the sensor so it is extended forward as far as possible. Turn the sensor so it is pointing in the direction where motion should be detected. Adjust the sensor from side to side so it is level.
Video of the Day
Step 2
Locate the adjustment controls on the motion sensor unit. Identify the three common means of adjustment including controls generally labeled "Dusk," "Range" and "Time Delay."
Step 3
Turn the dusk control with a blade screwdriver so it is in the center. Begin with this initial setting and wait until dusk. Observe when the floodlights are activated. Turn the control toward "Darker" if the lights are coming on too early, or toward "Light" if they are coming on too late in the evening.
Step 4
Adjust the range control to a medium or middle setting. Move completely out of range from the sensor and begin walking toward the floodlight unit. Note when the light is activated. Approach the unit from additional angles noting the point where the lights come on. Turn the control toward "+" to increase range of the sensor or toward "-" to decrease the range.
Step 5
Set the time delay based on personal preference. Turn the control toward "+" to have the lights stay on longer when activated or toward "-" for less time. Observe the length of time that the floodlights remain on and make necessary adjustments.
Video of the Day