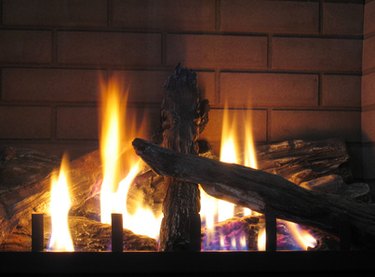
Wood-burning fireplaces are intended to provide warmth to a home. If the fireplace is in need of repair or does not meet local construction codes, it could have the opposite effect by drawing heat from the home. An electric fireplace insert is an efficient and cost-saving alternative. No chimney repairs or actual chimney are required, all you need is a three-pronged 15 amp, 120 volt outlet. With the flick of a switch, you can go from the "flames" setting, which does not generate heat, to a higher setting that provides heat and efficiently warms one or more rooms.
Step 1
Remove any debris and ashes from the existing fireplace. Seal all drafts and vents in the chimney to prevent chimney debris from falling into the electric fireplace insert.
Video of the Day
Step 2
Cap the top of the chimney flue and close the damper, if applicable, to prevent rain from entering.
Step 3
Ensure that you have a three-pronged outlet near your fireplace with an output of 15 amps and 120 volts. An electrician can assist in determining the ampage and voltage of the current outlet. To avoid overloading the circuit, the outlet should only be used for the electric fireplace insert.
Step 4
Ensure the on/off switch of the fireplace insert is in the off position. Plug the cord of the insert into the thee pronged outlet and insert the fireplace insert into the existing fireplace opening. Center the insert in the fireplace opening.
Step 5
Ensure that the fireplace insert is level with the hearth of the existing fireplace. Install the trim kit onto the fireplace insert, ensuring that the trim is flush with the wall surrounding the fireplace opening.
Step 6
Turn the on/off switch to the "on" position and enjoy your new fireplace.
Warning
Carefully read the instructions and warnings that accompany the fireplace insert.
Video of the Day