Things You'll Need
Outdoor faucet insulation cover
Rags
Plastic bag
String
Scissors

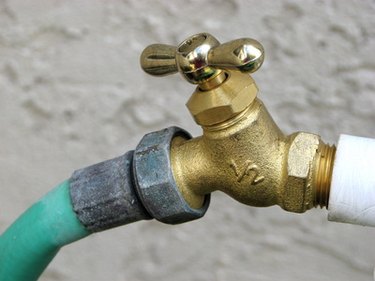
Outdoor faucets are commonly located around the perimeter of a home to provide easy access for water. Hoses are often connected to faucets for watering lawns, gardens, landscapes and for washing cars. During winter months it is necessary to properly insulate and protect outdoor faucets from low temperatures that could result in frozen pipes and damage. Taking the time to properly insulate and protect outdoor faucets can help prevent potentially expensive repair bills later on.
Step 1
Locate the shut-off valve, if installed, on the pipe leading to the outdoor faucet. Turn the control so that water is shut off to the faucet to help reduce the possibility of freeze damage.
Video of the Day
Step 2
Place an outdoor faucet insulation cover on the faucet. Choose a Styrofoam or insulated cloth sack model based on personal preference. Place the Styrofoam cover over the faucet and position the hook attached to the cover around the faucet. Tighten the cover in place with the wing nut on the outside of the cover. Secure cloth sack faucet covers around the faucet by tying with the attached string.
Step 3
Insulate faucets by wrapping rags around the base of the faucet. Continue to wrap the faucet out and around the opening of the faucet to seal out cold air.
Step 4
Wrap a plastic shopping or small garbage bag around the faucet and rag. Form the bag tightly around the faucet so that wind cannot get under the bag and pull it loose.
Step 5
Secure the bag and rags around the faucet with string or cord. Tie the bag and rags securely in place with the string. Cut excess string with a knife or scissors.
Video of the Day