Things You'll Need
2-by-4-inch boards
Circular saw
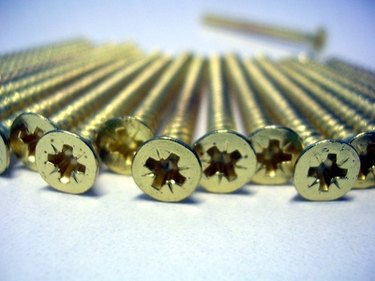
3-inch deck screws

Installing a roof by yourself can save money, but it comes with risks of injury. About 500 people die each year in the United States as a result of falls from elevated places, according to the Centers for Disease Control. Take a tip from professional roofers and use toe boards while doing the work. Toe boards are temporary, low-profile barriers meant to prevent people and materials from sliding off a roof. Toe boards allow you to move about the roof safely and are easily removed when the work is done.
Step 1
Determine how many toe boards you need based on the depth of the roof. Toe boards should be placed every 12 to 18 inches. For example, you need 13 to 20 toe boards for a roof with a depth of 20 feet.
Video of the Day
Step 2
Mark the two-by-fours into 3-foot sections and cut.
Step 3

Attach the sections to the roof with 3-inch deck screws. Place a screw two inches from each end of the board and one or two in between. Each 3-foot board should have at least three screws holding it in place.
Step 4
Remove the toe boards when you have finished a section of the roof and inspect them for damage. Discard any damaged boards and reinstall the toe boards on the next section of roof to be done.
Tip
The screws used to install toe board will leave holes in your roof. After the boards are removed, plug the holes with silicone or another sealant to prevent leaks.
Warning
Toe boards are a safety measure but should not be solely relied on to prevent falls. Consider wearing a safety harness when working on a pitched roof.
Video of the Day