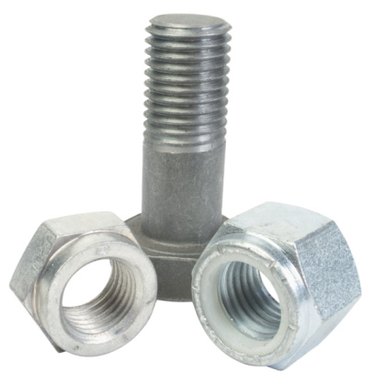
Things You'll Need
Internal tooth lock washer
External tooth lock washer
Internal external combination lock washer
Split ring lock washer
Nut
Wrench

Washers are thin, round pieces of metal with a hole formed in the center. Commonly placed on the end of a bolt to separate a nut from the surface from which the bolt is extending, washers provide a surface that the nut can tighten against. Lock washers can also be placed next to the head of a bolt to secure it in place when tightened. Lock washers are designed to also lock the nut in place as it is tightened down on the bolt. Installing a lock washer can help prevent the nut from working loose during use.
Step 1
Select an internal tooth design lock washer when using bolts or nuts in smaller sizes. Choose the internal tooth design so the teeth will make better contact with small bolts, and with bolts with small heads.
Video of the Day
Step 2
Choose a lock washer with an external tooth design when using larger or even over-sized bolts and nuts. Larger nuts and bolt heads will be held in place more effectively when using a lock washer with teeth positioned on the outside of the washer. The outside tooth design provides for a greater gripping surface.
Step 3
Place a combination external and internal tooth lock washer on bolts with larger heads and with larger nuts to obtain maximum grip and locking power. Also choose combination tooth washers when working with oversize holes.
Step 4
Install a split ring or spring washer to prevent the bolt from easily turning counter-clockwise. Tighten the nut down against the split ring lock washer but do not over-tighten and mash the washer flat. The overlapping split of the washer will bite into the surface and lock the nut or bolt head in place.
Video of the Day