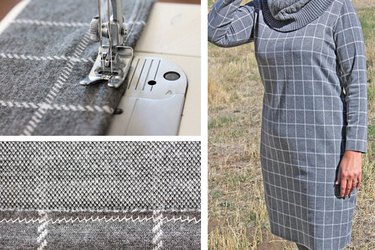
One of the advantages of sewing with a knit fabric is that it won't fray. Even though hemming isn't always necessary with knits, finishing your garment with a nice hem will make your handmade outfit look much more polished and professional. So the next time you're sewing with a knit fabric, elevate your project to a whole new level of expertise by using one of the following techniques to create a beautiful hem.
Things You'll Need
Sewing machine
Double ball point needle
Single ball point needle
Coordinating or contrasting thread
Iron and ironing board
Pins
Video of the Day
How to Create a Hem Using a Double Needle
To create a professional looking hem without special equipment, use a twin needle, two spools of thread and one bobbin. You install a double needle the same way you would a single needle. Thread the left needle just as you would thread a regular needle, using your regular upper thread. Place the extra spool pin on the bobbin winder and place the second spool of thread on top, then thread it through your sewing machine, and thread the end through the right needle.
Video of the Day
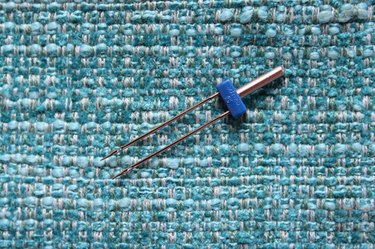
Tip
If your machine doesn't come with an extra spool pin, you can place both spools of thread where you would place your single spool of thread, or place the second spool of thread in a small cup nearby. Then thread the machine as usual with the second thread.
1. Fold the edge
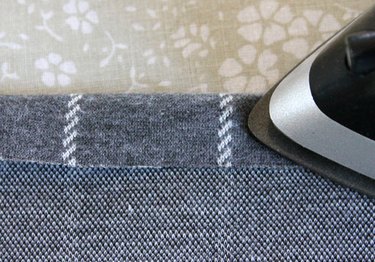
Since knit fabrics won't fray like a woven fabric, you only need to fold 1/2 inch of the edge of the hem over once toward the wrong side of the fabric. Press the fold with an iron.
2. Pin the hem
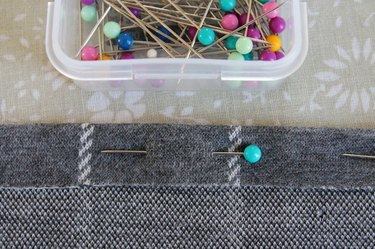
Use straight pins to hold the hem in place.
3. Sew the hem
Sew the hem with the double needle from the right side of the fabric. Be sure to remove the pins as you sew.
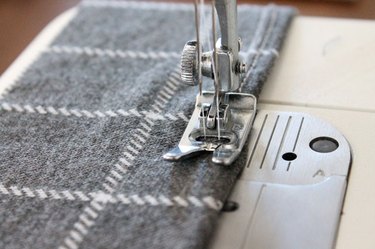
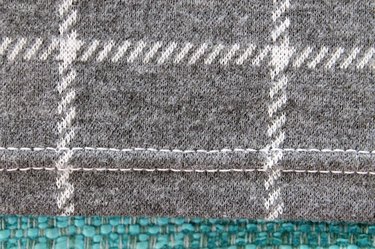
The right side of the fabric will have two parallel lines of straight stitching.
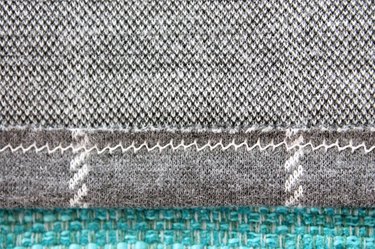
The underside of the hem will have a zig zag stitch to give the hem some stretch.
How to Create a Hem With a Zig Zag Stitch
Creating a hem with a zig zag stitch is another easy way to hem a knit garment. Change the stitch settings on your sewing machine to a medium length zig zag stitch.
1. Fold the edge
Fold the hem edge under 1/2 inch, then press with an iron.
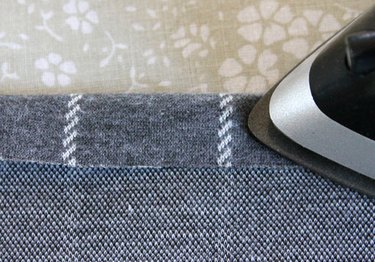
2. Pin the hem
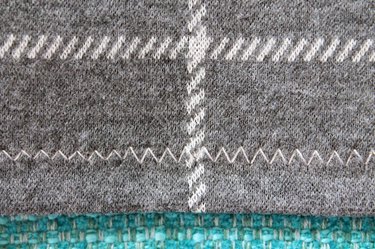
Pin the hem in place, and then sew the hem in place, removing the pins as you sew. The front side of the hem will have a zig zag stitch, which can be used as an interesting detail if you choose to use coordinating or contrasting thread.
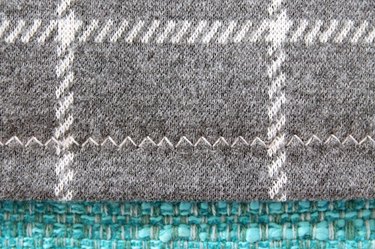
The underside of the hem will also have a zig zag stitch.
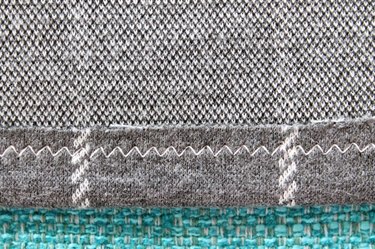
Depending on the look you'd like to have on your garment, you can choose a smaller or a larger zig zag stitch to create the hem.
How to Create an Accordion Fold Hem
This next technique will create a sturdy hem that looks like it was created by an expensive serger.
1. Fold the hem
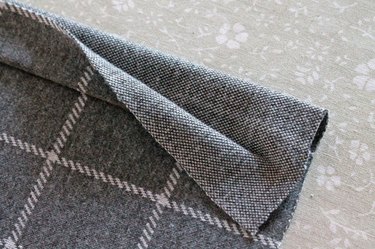
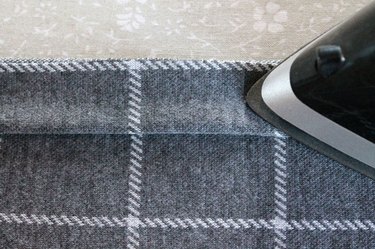
Fold 2 inches of the edge of the hem over with the right sides together, then fold 1 inch over again with the wrong sides together to create an accordion fold.
2. Press with an iron
Press the folds in place with an iron.
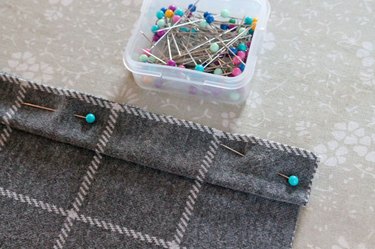
3. Pin the hem
Pin the folds in place with straight pins.
4. Sew the hem
Sew the accordion folds 1/4 inch away from the raw edge using a zig zag stitch.
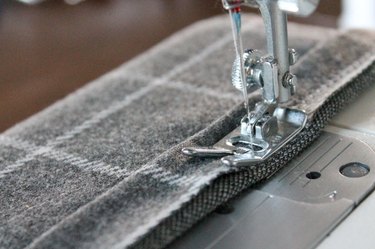
This is what the stitches will look like.
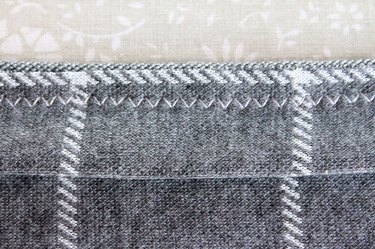
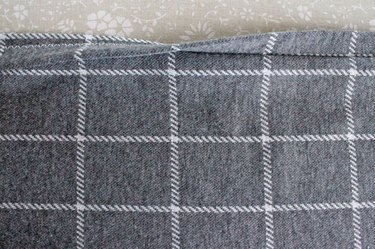
5. Fold the raw edge
Fold the raw edge under so the folded edge is on the outside and the raw edge is facing up.
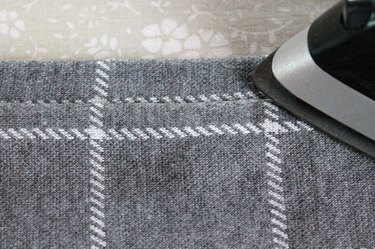
6. Press with an iron
Press the hem in place with an iron.
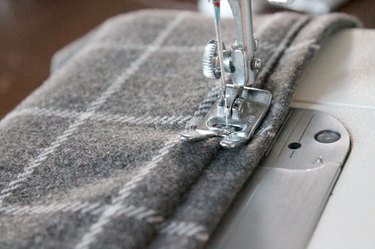
7. Sew to hold in place
Topstitch close to the seam and on top of the raw edge to keep it in place.
Tip
Any of these hemming techniques would work well with the knit dress created in my article How to Design Your Own Dress Pattern.