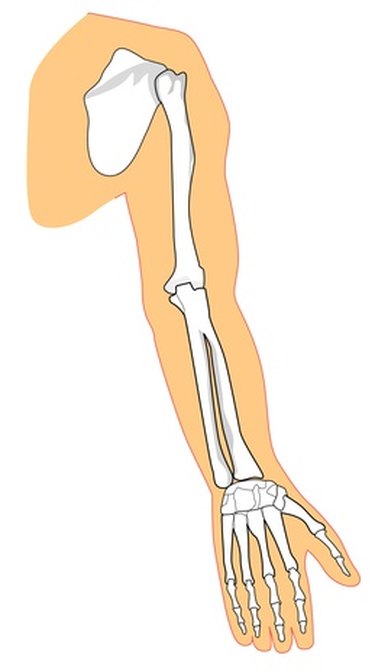
The shoulder ball joint, also known as a ball and socket joint or a Glenohumeral joint, is the joint that allows your arm to move in an almost 360-degree circle. Using this joint as a model is useful for different purposes, whether to illustrate how the human shoulder works or to make a handle that will rotate like a shoulder. No matter the reason, making a shoulder ball joint is relatively a straightforward process.
Step 1
Decide on the size you want your joint to be. Before starting construction of the joint itself, decide whether you will be attaching it to another object.
Video of the Day
Step 2
Break off two pieces of clay. One piece of the clay will be the "ball' part of the joint and the other will be the "socket." Pottery clay is best used for this project because it will dry and harden. The two pieces of clay should be roughly the size you want your finished joint to be.
Step 3
Make the ball part of the socket first. Mold the clay down to the correct size. Make the ball slightly smaller than you want the joint itself to be. If you will be attaching the ball to something else, make sure it is a ball shape and not just a rounded end. The ball does not have to be a perfect sphere, but it should be as round as you can get it. The roundness of the ball will determine how flexible the joint will be. Allow the ball to dry and harden a bit before putting it into the socket.
Step 4
Measure the exact circumference of the widest part of the ball. This measurement will be necessary when making the socket. Mold the second piece of clay, creating a hollow cup that is big enough to accommodate the ball part of the joint. Allow the socket to harden a bit before inserting the ball. If necessary, you can add more clay so that the ball won't come loose.
Video of the Day