Things You'll Need
Circuit tester
Screwdriver

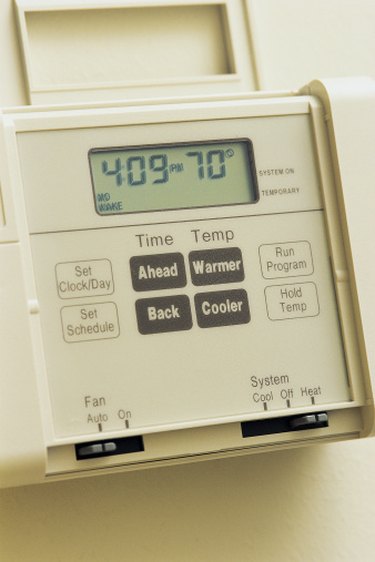
Maple Chase thermostats are designed to be used with a forced-air heating and cooling system. The best location for this thermostat is on an indoor wall in a commonly used room. For an accurate reading, the thermostat should not be in direct sunlight or located above a register. Maple Chase thermostats are programmable, and you can set the temperature at which you would like to keep your house at any given time.
Step 1
Turn off the power to your heating and cooling system from the main breaker box. Use a circuit tester to make sure the wires you are about to work with have no power running to them.
Video of the Day
Step 2
Remove the cover of the Maple Chase thermostat by inserting the tip of a screwdriver in the slot located on the side of the thermostat. Twist the screwdriver slightly to pop the cover off.
Step 3
Push the back of the thermostat against the wall. Make sure that the wires enter through the large hole. Secure the thermostat to the wall with the two supplied screws. There is a mounting hole in the upper left corner and lower right corner of the thermostat.
Step 4
Push the green wire into the screw labeled "G." This wire will control the fan. Tighten the screw to hold the wire in place.
Step 5
Push the yellow wire into the screw labeled "Y" and tighten the screw. Do the same with the white wire and the screw labeled "W."
Step 6
Push the red wire into the screw labeled "RH" and tighten. The RH and RC screws are connected by a manufactured jumper wire. If you have two red wires coming from your wall, you will need to remove the jumper wire by loosening the screws and put one red wire in each screw.
Step 7
Snap the cover of the thermostat in place. Restore power to the forced-air system.
Video of the Day