Things You'll Need
Compound miter saw
Extension chord
Scrap wood to cut
Safety glasses

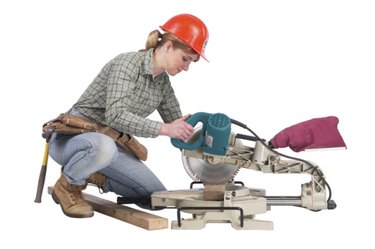
Compound miter saws are a much-needed evolutionary advancement of the old-fashioned miter box and saw. Compound miter saws allow you to cut flawless and specific angles with a rotating blade. Forget the struggle of sawing; with a compound miter saw, cut your lumber with the press of a button. Delta compound miter saws combine the accuracy of a miter box with the convenience and ease of an electrical tool.
Step 1
Place the Delta miter saw on a sturdy table or workspace. Attach the dust-collecting bag to its place behind the saw blade by squeezing together the metal prongs and slipping the bag over the circular sawdust exhaust tube. Unlock the miter saw by pressing down on the handle and unscrewing a small knob located beside the miter saw bed. Plug in the miter saw, using an appropriately sized extension cord if necessary.
Video of the Day
Step 2
Adjust the angle of the saw blade to correspond to the angle you want to cut. The Delta miter saw has a half-circular attachment beside the saw bed that is ticked with degrees. By squeezing on a grip, you can adjust the angle of the saw to a specific degree, ranging between 270 to 0 and 0 to 90 degrees. Move the saw to the angle you want to cut, and make sure the adjustment grip snaps into place.
Step 3
Place the piece of wood you want to cut on the miter saw bed. Use your hand to clamp it to the side edge of the miter saw bed. Keep your fingers a safe distance away from the saw blade when you are holding the wood.
Step 4
Put on safety glasses. Hold the wood with one hand, place the other hand on the handle of the saw and press the button to send the saw blade spinning. Continue to hold the button down and allow the blade to spin for 3 seconds before lowering the saw to cut through the wood. Slowly and steadily lower the blade into the wood. Cut the wood.
Step 5
Allow the blade to spin for about 1 second after the saw blade finishes cutting through the wood, then remove your finger from the button, lifting the saw blade from the wood. The saw blade will stop spinning once the blade arm is in its upright position. Remove the wood from the saw bed.
Tip
If you find that your wood is splintering, place masking tape over the area you will be cutting. This will reduce splintering, resulting in a more professional finish.
Warning
Always wear safety glasses when using a miter saw. Keep hands and fingers away from the saw blade, even if it is not spinning.
Video of the Day