Things You'll Need
Wire strippers
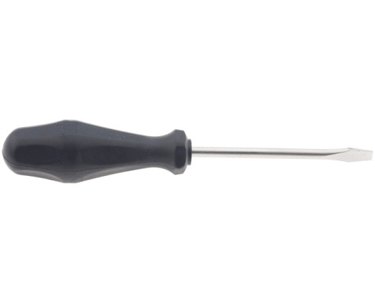
Flat-head screwdriver
1/4-inch nut-driver

Intermatic Incorporated manufactures timer switches designed for indoor and outdoor use. Many pool pump motors and water heaters use Intermatic timers to regulate their run times. An Intermatic timer-switch saves electricity when it turns a water heater off at night and when it limits the amount of time a pool's filtration system runs. Some electric companies charge higher rates for electricity used during "on-peak" hours. A timer can limit the amount of energy used during these times. An Intermatic timer wires into an appliance's electrical supply.
Step 1
Turn off the circuit breaker to the appliance that the Intermatic timer operates.
Video of the Day
Step 2
Open the Intermatic timer's cover. Lift or depress, depending on the Intermatic timer model, the latch before opening the lid. The latch, located on the right-hand side, secures the lid in a closed position.
Step 3
Pull the plastic protective shield from the timer's wiring terminals. The protective shield, located at the bottom of the timer, uses tabs to lock in place.
Step 4
Strip 1/2 inch of the covering from each insulated wire entering the Intermatic timer, with wire strippers. Two wire sets enter the timer. Each wire set contains two insulated and one bare wire.
Step 5
Identify each wire terminal using the numbered labels, 1 through 4, for "Line" and "Load" terminal identification. Intermatic prints the labels above each terminal. The timer uses a "GR" label to identify its green-colored ground screw.
Step 6
Loosen the wire terminals numbered 1 through 4 with a flat-head screwdriver, and the ground screw with a 1/4-inch nut-driver. The ground screw holds a copper washer.
Step 7
Route the uninsulated ground wires from both wire sets along the timer's housing to the Intermatic timer's ground screw, located on the plate holding the timer's dial. Keep the ground wires clear of the "Line" and "Load" wire terminals.
Step 8
Bend the two ground wires around the green-colored ground screw. Keep the wires between the copper washer and the timer's plate. Tighten the ground screw with the 1/4-inch nut-driver.
Step 9
Slide the end of the black-colored wire from the circuit breaker into the Intermatic timer's terminal with the "1" label. Tighten the terminal screw with the flat-head screwdriver.
Step 10
Slide the end of the white-colored wire from the circuit breaker into the Intermatic timer's terminal with the "3" label. Tighten the terminal screw with the flat-head screwdriver.
Step 11
Slide the end of the black-colored wire leading to the appliance, the "Load," into the Intermatic timer's terminal with the "2" label. Tighten the terminal screw with the flat-head screwdriver.
Step 12
Slide the end of the white-colored wire leading to the appliance into the Intermatic timer's terminal with the "4" label. Tighten the terminal screw with the flat-head screwdriver.
Step 13
Press the protective shield into place before turning the circuit breaker on.
Video of the Day