Things You'll Need
Duct Tape
Plywood
Screwdriver
4 - 2-inch screws

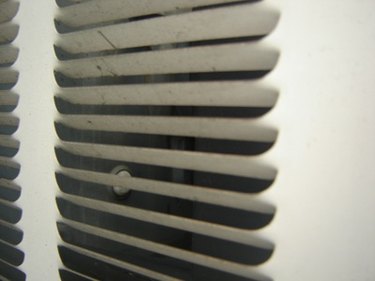
The warm or cold air flowing through your air duct system costs money to produce. Heating or cooling a room that's not being used, increases your utility bill. Sealing air vents will keep your home cool in the summer and warm in the winter without wasting your energy dollars. Whether you use gas or electric to heat and cool your home, these sealing tips are a necessary part of keeping your home energy efficient.
Temporary Seal
Step 1
Examine all air vent outlets in each room of the house. Take note of the rooms you do not need to heat or cool. These rooms may include a room you use for storage, closet space or guest rooms.
Video of the Day
Step 2
Measure the size of the vent to seal. Keep the vent cover in place and measure the total width and length of the vent.
Step 3
Cut a piece of plywood to fit the vent. The plywood should be the same size as the vent cover.
Step 4
Remove the current vent cover. Some vent covers are only sitting in place, while others may have screws holding them. If there are screws, simply loosen the screws, then pull the vent cover off.
Step 5
Apply duct tape around the edges of the plywood. This seal will not damage surrounding walls or floors. Don't skimp. Use enough tape to completely cover the edges and prevent leaks.
Permanent Seal
Step 1
Remove the current vent cover. Use a screwdriver if necessary.
Step 2
Measure the exact size of the vent opening.
Step 3
Cut a piece of plywood to fit the opening. The plywood should sit flush with the surrounding floor or wall.
Step 4
Screw the plywood into the opening where the vent cover was. Use four 2-inch screws in the same holes that anchored the vent cover.
Step 5
Cover the sealed-off vent. Install floor or wall covering. Plaster, wallpaper, paint the wall or install flooring material that matches the rest of the room.
Video of the Day