Loose change doesn't feel like it amounts to much, especially when it's spread around your home in various nooks and crannies. But using paper coin rolls is a great way to gather your change and make it count—literally. You can use everyday printer paper to create your own coin wrappers, and once you have enough, you can take those rolls of coins straight to the bank! After all, a complete roll of quarters is worth $10.
With our handy tutorial below, you can make different-size coin rolls for whatever change you have on hand: pennies, nickels, quarters, you name it. So, grab some coins and printer paper and let's get ready to roll! (Note: This tutorial is for common U.S. coins, not rare or valuable coins, which you might want to preserve more carefully.)
Video of the Day
Things You'll Need
Coins
Thick printer-size paper
Pencil
Clear tape
Scissors
1. Gather your coins
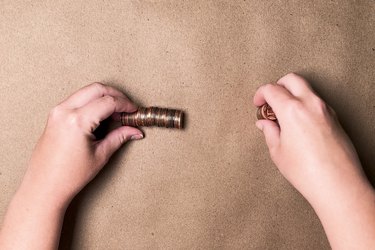
Count out the number of coins you'll need for a standardized coin roll using our handy guide below. For our tutorial, we're using 50 pennies.
How many coins go in a roll?
Use this handy cheat sheet to determine how many coins you should count out per roll:
- Pennies: 50 coins
- Nickels: 40 coins
- Dimes: 50 coins
- Quarters: 40 coins
- Half-dollar coins: 20 coins
- One-dollar coins: 25 coins
2. Stack your coin roll
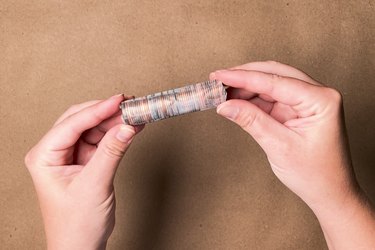
Stack your coins into a roll and combine them using tape, wrapping them both horizontally and vertically so they stay put. This coin roll will be your reference for creating paper tubes to put them in.
3. Roll up your paper wrapper
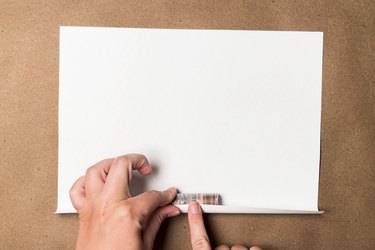
Lay down your taped rolled coins on a piece of 8.5 by 11-in. printer paper. Place it on the long edge of the paper and tape this edge to the coin roll. Roll the coin stack until you reach the other end of the paper.
What's in a roll?
If you’ve ever wondered, “How much is a quarter roll worth?” then this handy guide is for you:
- Roll of pennies: 50 cents
- Roll of nickels: $2
- Roll of dimes: $5
- Roll of quarters: $10
4. Trim excess paper from the paper wrapper
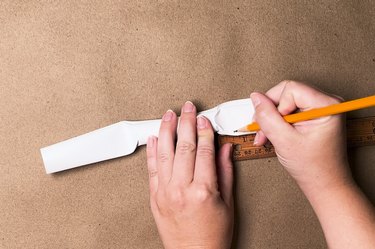
You should still have excess paper on the right and left sides of your roll. Trim these edges with scissors so that there is half an inch of paper on either side of the coin roll.
5. Fold in your edges
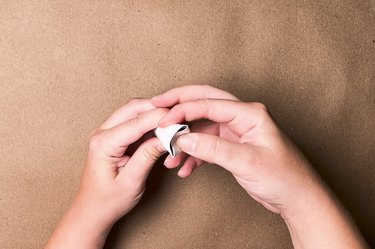
Fold in the edges of the coin roll paper by pressing one side down to meet the edge of the end coin and then press down the other side. You should have two flaps sticking up now. Fold these down as well to secure the roll. Repeat on the other side of the coin wrapper.
6. Unroll and remove the tape from the coins
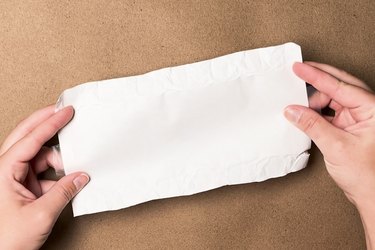
You now have your first coin roll wrapper! Use this as your new template for making more paper wrappers. Do so by unfolding the ends, unrolling the paper and removing the tape.
7. Create more coin wrappers

To create more rolls, trace your unrolled wrapper onto a fresh sheet of paper. Make any future wrappers this size, noting whether the template is for pennies, nickels, dimes or quarters. You should be able to make two coin roll wrappers from one sheet of printer paper.
Tip
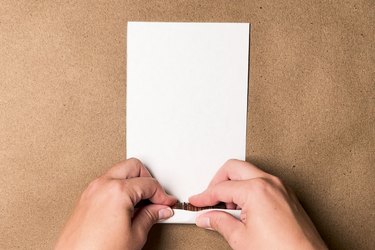
Now that you know the size of your wrapper, you can remove the tape from your rolled coins. Your local bank will likely prefer the coins to be tape-free. Additionally, if you take your wrapped coins to a coin-counting machine in a convenience store or grocery store, you’ll want them to be loose so you can quickly add them to the counter.