Things You'll Need
Pliers
Teflon tape
Copper cap
Faucet hole cover

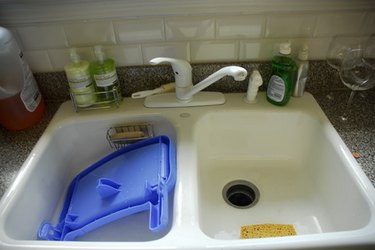
Sprayers on sinks can sometimes become worn and stop working properly, gaskets can wear out, or the faucet may become clogged. When this happens, it can become very frustrating. The sprayer may not even be used. Remove it completely to avoid any future headaches from this device. Hiring a plumber to do the job for you can be quite expensive. Save yourself some money and complete the task yourself in less than an hour.
Step 1
Shut off the hot and cold water valve under the sink. It should be two silver knobs that turn.
Video of the Day
Step 2
Turn on the faucet until the water is completely empty. Do the same with the sprayer.
Step 3
Locate the end of the hose opposite the end that is attached to the sprayer. Place a bucket or bowl under the valve.
Step 4
Twist the valve at the base of the hose counterclockwise, with a pair of pliers. Let the water in the hose drain into the bucket.
Step 5
Loosen the sprayer by turning the bolts underneath the sprayer at the sink.
Step 6
Pull the hose through the hole on the top of the sink. Remove any gaskets attached to the hose.
Step 7
Clean the surface where the sprayer was located.
Step 8
Wrap the valve stem where the hose valve was removed with Teflon tape. Wrap approximately three layers of this tape covering all of the threads.
Step 9
Attach a copper cap to the valve. Tighten with a pair of pliers.
Step 10
Twist off the screw cap on the faucet hole cover. Insert the threads of the cover into the hole at the top of the sink. Replace the screw cap to the threads and tighten. Before completely tightening the screw cap, reposition the cap on top. Tighten the cap in place.
Video of the Day