Things You'll Need
Protective eye gear
Work gloves
Mortar mix
Bucket
Stir stick
Scoop
Mold
Protective cloth or plywood
Screen or hardware cloth

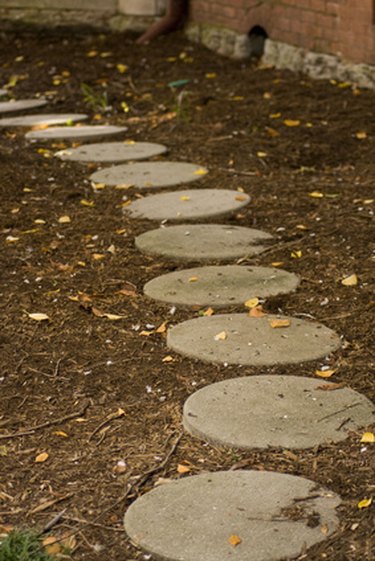
Nothing says "Welcome to my home" better than a personalized pathway to your front door. Stepping stones may be moved around to make your pathways interesting as they weave through a flower path, protecting your garden from being stepped on, and keeping the mud from being dragged into your home. With a few things you may find laying around your home, and the sole purchase of mortar mix your are on your way to creating a wonderful, welcoming, and natural pathway.
Making Your Stepping Stone
Step 1
Prepare your work area by covering it with a protective cloth, such as an old shower curtain. An alternative would be to use a piece of plywood that is large enough to protect the area, yet small enough for you to carry and move if you choose to.
Video of the Day
Step 2
Quikrete is a popular mix for stepping stones. It costs about $2 for a 60-pound bag, and makes about six stepping stones. Make small batches of mix, rather than larger amounts so that the mix will not begin to dry out and result in a gritty surface. If you are using Quikrete, mix five parts concrete to one part water. The consistency you want to achieve is similar to a brownie mix. Start out with a bit less water than recommended and then add more a bit at a time until it is the desired consistency.
Step 3
You can use several things for your molds. Some items, such as an old cake pan, will need to be coated thoroughly with petroleum jelly, or cooking spray. One of the more popular molds is plastic plant saucers; these do not need to be coated and are reusable. You can purchase them for about $1.
Step 4
Scoop the mortar mix into the mold rather than pouring it. Fill the mold about halfway, and level the mortar mix. Take a piece of old screen or hardware cloth and place it on top of the mortar mix. Fill the mold the rest of the way. Once the mold is full, gently tap the sides of the mold to help eliminate air bubbles. If you prefer, you can place your mold on top of the washing machine and run it a couple cycles to shake out the air bubbles.
Step 5
If you choose to embellish your stone, such as adding texture or design, wait 30 to 60 minutes before placing items onto the mortar mix. Better Homes and Gardens online magazine has a free online video about making decorative stepping stones.
Step 6
Once the mold is full, and the air bubbles have been removed, do not move your mold again for about two to three days. Water down the mold each day; this will make your mortar even harder. Remove your stone by gently popping it out of the mold.
Tip
It is recommended that you keep the mold indoors for about two weeks before setting it outdoors.
Warning
Wear protective eye gear and gloves when working with the mortar. If mortar comes into contact with your skin, wash immediately with warm soapy water.
Video of the Day