Plaques can be made with many different materials but wood is the easiest to work with. Ready-made pictures or your own original designs can be turned into creative one-of-a-kind plaques. Pre-sanded wood forms in a variety of shapes can be purchased at craft stores. Rough cut wood from a lumberyard is excellent if you prefer to sand, paint or refinish your own.

Video of the Day
Things You'll Need
Picture Frame Wire
White Glue
Coarse Sandpaper
Wood Stain
Newspapers
Tape Measure
2 Eye Hooks
Wood Form
Picture
Fine Sandpaper
Spray Lacquer
Step 1

Sand the edges and all sides of the wood form until they are perfectly smooth. Sand first with a coarse sand paper and finish with a fine sand paper.
Video of the Day
Step 2

Spread 2 or 3 layers of newspaper on your work surface. Use a paintbrush to apply the wood stain or paint to the wood form. Coat one side and the edges, allow it to dry according to the directions on the product. When dry, coat the other side of the wood form and let it dry.
Step 3

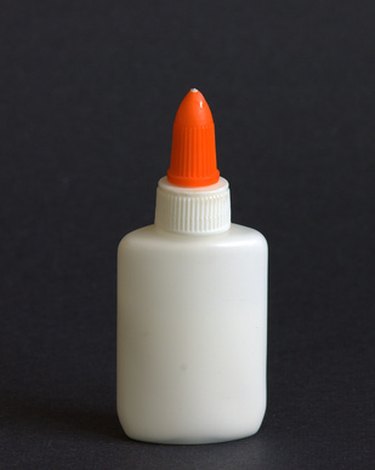
Apply white glue to the back of the picture you have chosen and center it on the wood plaque. Wait 3 or 4 hours or preferably overnight for the glue to dry completely.
Step 4

Spray an even coat of lacquer over the picture and the top side of the wood plaque. Work in a well-ventilated area or outside. Once the lacquer dries, spray the back side of the plaque.
Step 5

Screw the 2 eye hooks into the back of the plaque. Use the tape measure to mark where to place the eye hooks. Place them at least 2 inches down and 2 inches from the outside edges of the plaque. There should be 2 or 3 inches space between the two eye hooks.
Step 6

Wind one end of the piece of wire around one eye hook. Run it across to the other eye hook and secure it by wrapping the wire around the hook.
Warning
Spraying lacquer on real photos will damage the photos, use only pictures from old cards or magazines.