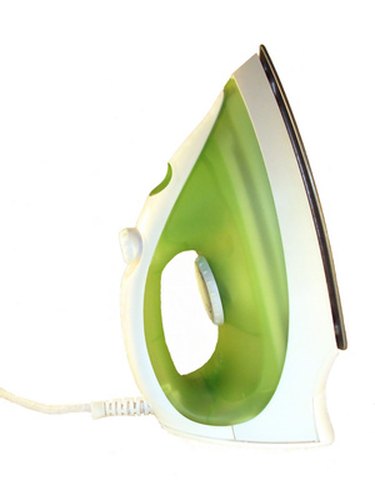
Sewing patches onto leather is a popular application method, but you can also use an iron to apply patches to leather without damaging the leather. With this method you use the iron as a pressing tool rather than using its heat. Irons are good for simply pressing because they have smooth finishes that evenly glide over leather and patches. Using an iron to apply patches to leather can be done safely as long as you know the what not to do.
Things You'll Need
Craft glue made specifically for leather adhesion
Leather garment
Clean cloth
Gentle detergent
Water
Ironing board
Iron
Video of the Day
Step 1
Purchase a craft glue that is safe for use on leather. Many craft glues will not adhere to leather material, but some are designed to adhere to this tough medium. Read labels and select one accordingly. If you can't find one at your local craft store, try heading to your local seamstress or leather repair shop for help.
Video of the Day
Step 2
Clean the leather with a clean cloth and a few drops of gentle detergent and warm water. Wipe away any scuffs, dirt or stains to prepare the surface for adhering the patch. Either let the leather air dry completely for a couple of hours or wipe with a dry cloth when finished cleaning.
Step 3
Apply the craft glue to the edges of the non-design side of your patch, making a thin line along the perimeter. If you have a large patch, apply another smaller outline in the center of the patch for more security.
Step 4
Lay the leather flat on an ironing board and apply the patch with glue to the area of leather you want to patch. Leave the iron off and place it on top of the patch. Press down firmly, gliding the iron back and forth over the patch for a few minutes. Leave the iron on top of the patch for six to eight hours to insure full adhesion.
Warning
Never attempt to use heat on leather. The iron is simply to be used as a pressing agent to hold and press the patch onto leather while the glue dries. Heat can greatly damage leather.