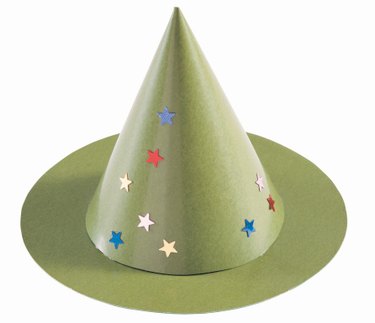
Cones are a shape you may use for several different projects such as Christmas ornaments, party favors or party hats. Make your own cone template to make the process of constructing several cones of the same size more efficient than marking out each cone individually. With a few simple tools and inexpensive supplies you can make your template in minutes and use it countless times.

Video of the Day
Things You'll Need
Ruler
Pencil
Compass
Scissors
Poster Board
Step 1
Measure up the right edge of your poster board the height you want your cone to be. So, if you want a 10-inch-tall cone then you measure up from the bottom right corner 10 inches and make a mark.
Video of the Day
Step 2
Measure out along the bottom edge from the same corner the same distance and make a mark. For example, measure 10 inches to the left from the bottom right corner for a 10-inch cone.
Step 3
Set your compass to the same measurement as the marks you just made. An easy way to do this is to put the point of the compass at the bottom right corner of the poster board and pull the pencil part out to one of the marks you made.
Step 4
Place the point of the compass at the bottom right corner of the poster board. Use the compass to draw an arc that connects the two points you marked. Cut along this curved line to cut out your cone template.