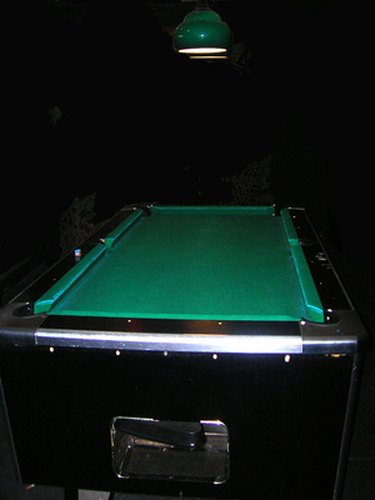
When restoring a pool table, some people prefer to touch-up every inch, including the unseen portions. A restorer may want to re-laminate the pool table's surface before applying a new layer of acrylic felt. Re-laminating requires patience and preparation, but can be easily accomplished in little to no time with basic expertise.

Video of the Day
Things You'll Need
Black Marker
Fine And Coarse Sandpaper Bits
Contact Cement
J-Roller
Tape Measure
Laminate Sheeting
Dowel Rods
Table Saw
Fine-Tooth Blade For Table Saw
Electric Sander
Step 1
Measure the pool table's bed for the dimensions of new laminate sheeting required, then purchase the sheeting at a local hardware supply store.
Video of the Day
Step 2
Test fit the laminate over the top of the pool table. The laminate only will cover the bed, not the walls or edges of the pool table. Trace with a black marker on the back of the laminate for cutting purposes.
Step 3
Insert the laminate into the guides of a table saw, and cut the outlines for the existing pool table top.
Step 4
Remove the table's old acrylic felt, if it hasn't been torn away already, and sand the table's bed with a coarse grit and then a fine grit to eliminate bumps or bulges. Clean the sanding dust away when finished.
Step 5
Apply a thin and even layer of contact cement to the back of the laminate, and allow to dry until it becomes tacky (approximately 10 minutes).
Step 6
Spread a thin and even layer of contact cement on the pool table's surface.
Step 7
Place dowel rods every couple of feet across the old table bed, but do not push down on them. Lay the new laminate over the dowel rods, and position the new laminate in the exact location where you want to glue it.
Step 8
Remove a single dowel rod at a time, beginning at one end of the pool table. Once the rod has been removed, use the J-roller to bond the bed to the laminate - leaving no air between them.
Warning
Wear proper safety and protective equipment when working with dangerous machinery, such as a table saw.