Things You'll Need
Graph paper
Pencil
String of outdoor lights
Small weighted objects
String
Scissors

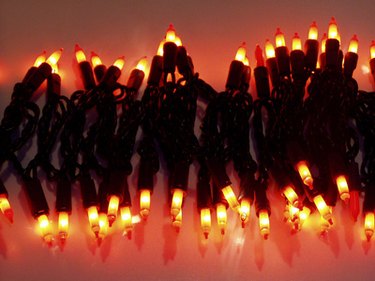
Net lights make it incredibly easy to decorate outdoor shrubs and trees for the holidays. Once you have straightened out the inevitable tangle of cords, all you need to do is drape the net over your chosen shrub or tree and plug it in. By making your own light net, you can decide just how large or small you want the net to be. Since the strings of lights will naturally want to curl in on themselves, you will need something to help hold them in place as you form the net.
Step 1
Design the layout of the net. Unlike an actual net, which is made of several strands of rope, your net light will only be made of a single strand of outdoor lights. To save time during the actual construction, plot out the path of the light strand. Start by drawing a square. From one corner, a series of connected lines (don't lift your pencil off the paper while drawing) that intersect the edges of the box at different angles.
Video of the Day
Step 2
Calculate string length. Drawing your plan on a piece of graph paper allows you to create an easy to follow scale (1 square equals half a square foot, for example).
Step 3
Select your outdoor lights. There are a wide variety of outdoor Christmas lights available (bulb, LED, colored, white). Choose a set of bulbs that meet your net's requirements. If you're making a large net light, you may need to buy more than one set of lights.
Step 4
Lay out the string into your net pattern. Since strings of lights don't lay straight, you'll need several small weighted objects (books, coffee mugs, large candles) to hold the string down. Place a weight at each corner and wherever the lights intersect.
Step 5
Cut small pieces of string. You'll need a piece of string a few inches long for each location that the string of lights intersects. Three of the net's four corners won't need to be secured, but make sure to have a piece of string ready for the corner where the two ends of the light string meet.
Step 6
Knot the string of lights together wherever the lines intersect. Tie the knot tightly so that it won't come undone then cut away the excess string. Remove the weights as you tie off the intersections, leaving the four corners until the very end.
Tip
Always make sure that you don’t cut the wires that join the lights together.
Lay down the socket end with the prongs attached first to ensure that it’s at a corner of the net so you can easily plug it in.
Video of the Day