Things You'll Need
Vegetable oil
Steel wool
Paper towels
Clear epoxy
Paper cups
Toothpick
Rubber spatula
Fine-grit sandpaper
Enamel paint
Small paintbrush
Clear glaze

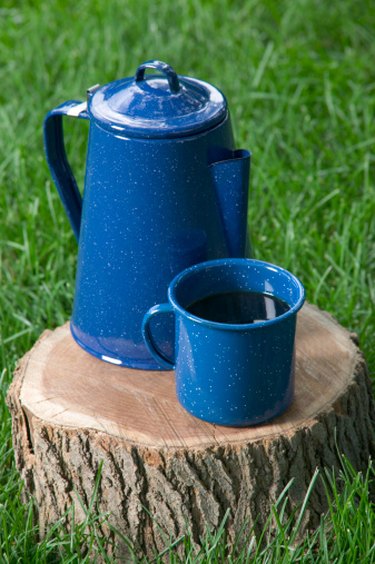
Enamelware pots and pans are good heat conductors and create even cooling surfaces. Pots and pans and teapots plus some types of plumbing and other surfaces are enamel-coated. Enamelware is two products fused together, often cast iron or steel with an enamel layer. When chips or scratches reveal the base metal layer, repair the damage with common household products.
Step 1
Dab vegetable oil on the damaged surface of the enamelware item. Rub the steel wool lightly on the area, removing any metal dust or chipped pieces of the enamel. Remove as much of the oil as possible by rubbing the enamel with a dry paper towel.
Video of the Day
Step 2
Squeeze the clear epoxy into a small paper cup and set near the enamelware. Dip a toothpick into the epoxy and dab it across the damaged area. Use the toothpick to gently spread the epoxy around, making a smoother surface. Wipe the flat end of a rubber spatula across the damaged area.
Step 3
Let the epoxy completely dry, preferably overnight. Rub fine-grit sandpaper over the surface of the epoxy, making it as flat as possible. Work the sandpaper around in small circles, keeping it confined to the repaired area, to reduce scratching the enamel.
Step 4
Pick an enamel paint that closely matches the color of the enamelware. Use a small paintbrush to paint across the clear epoxy. Feather the edges slightly, to make the new paint blend into the surrounding areas of the enamelware.
Step 5
Wait for the enamel paint to thoroughly dry. Add a coat of clear glaze, if repairing a high-gloss enamelware. Paint the clear glaze on top of the paint, covering the repaired area. Wait for the glaze to dry completely before using the enamelware.
Tip
Only use this method on the outside of pots and pans. If you have damage to the inside, you need professional help because the paint and glaze shouldn’t touch food.
Video of the Day