Things You'll Need
1 lb. salt
High-quality silver food coloring
Mixing bowl
Rubber spatula
Cookie sheet
Oven
Food processor or blender

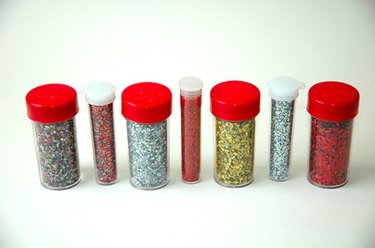
Any craft enthusiast with a creative flair knows the value (and fun) of using glitter and luster dust for projects. Silver luster dust, specifically, can be a beautiful addition to scrapbook pages, fabric projects, Christmas ornaments, picture frames or virtually any craft in need of a little pizazz. While silver dust and glitter is readily available in most craft stores, a good quality silver dust can be expensive. Using this method, you can create a large batch of silver dust for a fraction of the cost.
Step 1
Preheat oven to 350 degrees F.
Video of the Day
Step 2
Place the salt in a mixing bowl. If this is your first time making silver dust, it may be easier to mix it in separate batches.
Step 3
Add several drops of food coloring. Depending on the food coloring you chose the amount needed will vary. Using the rubber spatula, gently fold the salt as your add the color. Add drops two at a time until your desired color is achieved.
Step 4
Pour salt in a single layer onto your ungreased cookie sheet. You may need to work in batches depending on the size of your sheet. Use the rubber spatula to spread the salt into a thin layer.
Step 5
Bake salt for 10 minutes at 350 degrees F.
Step 6
Cool salt completely. If you've worked in batches, use additional cookie sheets, so the salt has time to cool on the sheet.
Step 7
Blend or process the salt. Pour your cooled salt into a blender or food processor (again, you may want to work in batches). Process the salt until your desired texture is achieved.
Step 8
Store the silver dust in jars or plastic containers.
Tip
You can adjust the texture of your dust by changing the blending/processing time. For course glitter, use course salt and omit processing. For dust, process until salt is fine and powdery.
This recipe works for any color glitter or dust. Experiment with other metallics or colors.
Video of the Day