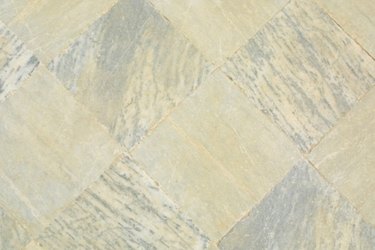
Things You'll Need
Tape measure
Level
Pencil
Thin-set mortar
Notched trowel
Wet tile saw (optional)
Marble tile sealer
Paintbrush

Many homeowners prefer the appearance of ungrouted tile. Before installing your marble tiles without grout, consider the function of grout and whether it is appropriate to eliminate the step. Grout works to prevent moisture and detritus from entering and getting stuck in the grout joints. It also keeps the edges of tiles from rubbing against one another as the structure beneath naturally shifts. Install marble tile without grout only for decorative purposes or to line sturdy vertical surfaces in spaces where debris will not collect and where moisture is minimal.
Step 1
Measure and mark the center of the wall. Use a level to draw a long, horizontal line and a long, intersecting vertical line through the center. Draw additional vertical and horizontal lines, if desired, to further grid the wall for guiding tile layout.
Video of the Day
Step 2
Apply a patch of thin-set mortar to the wall with a notched trowel, starting in one of the four sections around the center point.
Step 3
Press tiles to the mortar, using the drawn lines to guide level placement. If possible, leave a tiny space between tiles to prevent edges from rubbing and chipping later on. Use a damp sponge to wipe up any excess mortar that gets on the surface of the tiles.
Step 4
Continue to add mortar and tiles, gradually working up, down, left and right.
Step 5
Cut tiles to fit along the edges, if necessary, using a wet tile saw. Sand cut edges with stone sandpaper.
Step 6
Leave the mortar to cure overnight, then paint the tiles with marble tile sealer.
Video of the Day