Things You'll Need
Cleaning cloth
Plaster
Spatula
Waterproofing kit with liquid membrane, primer and tape
Paint roller tray
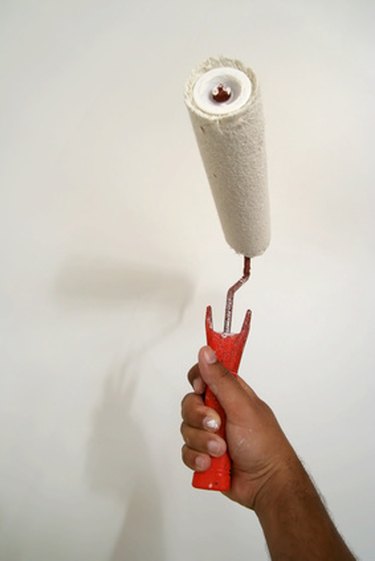
Small paint rollers
Paintbrush

Waterproofing walls is not absolutely necessary in all areas of a home or building, but around such places as a shower or tub, kitchen sink or laundry area, where there is greater potential for the walls to become wet and damaged over time, waterproofing is worth the extra steps and will save time and money in the long run. Waterproofing is made simple with kits that essentially contain three steps for proper protection of walls.
Step 1
Wipe the target walls down with a damp cloth to remove dirt, dust and any other debris that may have collected. Make note of any cracks or holes in the walls, then use plaster and a spatula to fill them and smooth surfaces. Allow the repaired areas to dry completely, preferably for 24 hours, then lightly smooth with fine sandpaper and dust off the powder gently with a barely-damp cloth.
Video of the Day
Step 2
Pour a small amount of waterproofing primer into a paint tray. Using a clean, dry paint roller apply the primer to all surfaces of the walls to be waterproofed. Depending on the brand, many waterproofing primers change color as they dry, which allows the painter to see which surfaces have been primed as he works. Allow the primer to dry completely.
Step 3
Measure and cut the waterproofing tape to fit in corners where walls meet, as well as where the walls meet the floor and ceiling, in shower stalls or near a tub. Apply the waterproofing liquid membrane with a clean, dry paint roller or paintbrush along the corners and edges where the tape will be applied, then carefully press the tape onto the surfaces. The tape does not have to be perfectly centered over the wall joints, but portions of the tape should be touching both walls and the middle of the tape pressed into the corners.
Step 4
Brush or roll on an even coating of the waterproofing liquid membrane over the entire wall surface, including lightly over the waterproofing tape applied to corners. Ideally, the suggested thickness of the waterproofing should be between 1 and 2 millimeters thick. Allow this waterproofing to dry for a couple of hours before applying a second coat, then allow a full 24 hours to dry before continuing with the renovations.
Video of the Day