Things You'll Need
Snow globe with photo insert
Photo
Scissors
Pencil

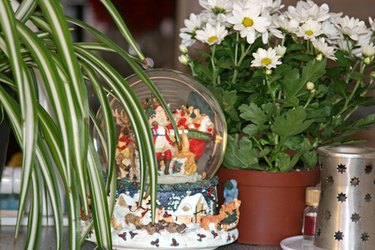
Snow globes capture the magic of the season. Adding a photo to the center of the globe is one way to personalize it. Snow globes with photo inserts can be purchased at discount department or craft stores. The photo can be cut to fit and inserted into the globe yourself in a few easy steps. Use them as gifts for friends and family.
Step 1
Buy a snow globe with the photo frame insert. Search online for snow globes with photo inserts if you can't one at a store.
Video of the Day
Step 2
Unscrew or unsnap the bottom from the snow globe. Remove the paper or plastic insert from the domed part of the snow globe.
Step 3
Measure the selected photo using the template taken out of the insert as a guide. Use a pencil to trace the sides that will be cut. Use the scissors to cut the photo to fit.
Step 4
Insert the photo into the slot within the dome of the snow globe. If the photo insert is double-sided, add another photo on the other side if you desire. Measure the second photo using the template. Cut it out.
Step 5
Screw on or push back on the bottom of the snow globe until it's secured.
Video of the Day