Things You'll Need
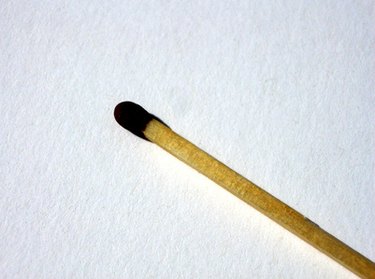
Matchsticks
Cutting board
Knives
Ruler
Scissors
Pencil
File
Craft glue
Paintbrush

Matchstick models are made by children and adults of all ages. The matchsticks can make anything from simple school project models to complex models of the world's wonders. Though the complexity and designs differ for every model and type, there are key factors that are the same in any matchstick design.
Step 1
Prepare the workspace. Set out a cutting board to protect the table or counter. Get out the tools like knives and matchsticks.
Video of the Day
Step 2
Draw up the matchstick model design. There are designs available online or designs come in matchstick modeling kits. Designs can even be drawn personally as preferred. If drawing the designs by hand, use a reference picture to get the scale and dimensions correct and draw up the designs to scale.
Step 3
Plan out the model. Matchstick models can range in complexity from basic shapes to complicated structures. Plan the model from the most inner designs such as the base of the model to the outside. If the model is very simple, such as basic shapes or designs, planning is not always necessary.
Step 4
Cut the matches as necessary. There are several ways to cut the matches depending on the needs. Cut at an angle to form joints or trim the bottom to make the matchstick shorter. There are matchstick cutters which are safer for children to cut with if children making the model are young.
Step 5
Paint the glue on the matchstick. Stick the match stick against another and gradually work up. DVS Online states that when using a card or cylinder underneath a model for shaping, it is easier to paint the glue on the card or cylinder bottle or item underneath than to glue the matchsticks together.
Step 6
Allow glue to dry and gently file the matchsticks. Always file or sand gently and lightly to avoid ruining the model. The point is getting the surface smooth rather than breaking apart the newly glued matchsticks.
Video of the Day