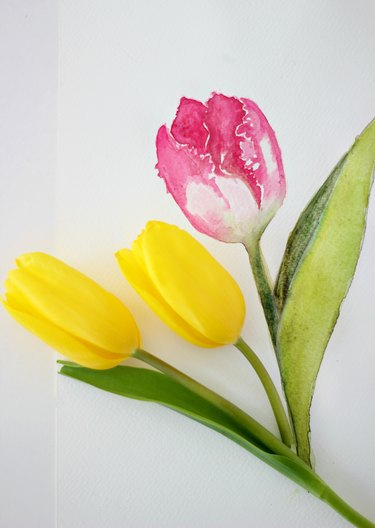
Watercolor lends itself beautifully to painting flowers, because flowers are colorful and soft. The organic lines and the manner in which the paint puddles onto the paper make for a lovely representation of any floral subject, especially with the variations of shade. Though tulips do not contain many free-flowing petals, you can create beautiful lines by simply drawing with water instead of drawing the subject with pencil. Watch the video tutorial.
Things You'll Need
Video of the Day
- Reference photo or live tulip
- 140-pound hot press Arches watercolor paper, 1 sheet
- No. 20 round brush
- Watercolor paint set
- Pencil (optional)
Video of the Day
Step 1
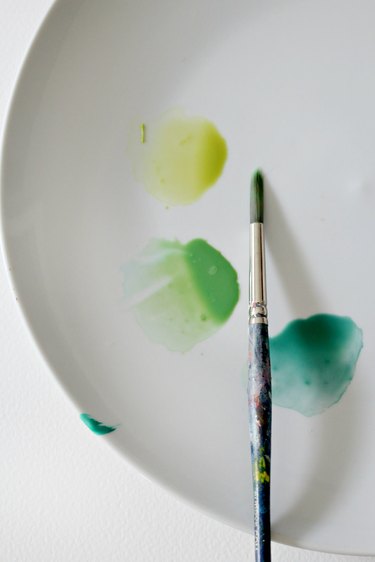
Prepare your color palette using the following colors:
- For the tulips: Either Winsor Red, Cadmium Red, or Quinacridone Red
- For the stem and leaves: Mix together yellow, a warm green (like Sap Green), and Cobalt Blue
Tip: If you are using dry watercolor in a pan, add a little water to the pan with your brush and then transfer some paint to the palette. If you are using tubes, squeeze a little bit of paint onto the palette and then dilute it with some water.
Step 2
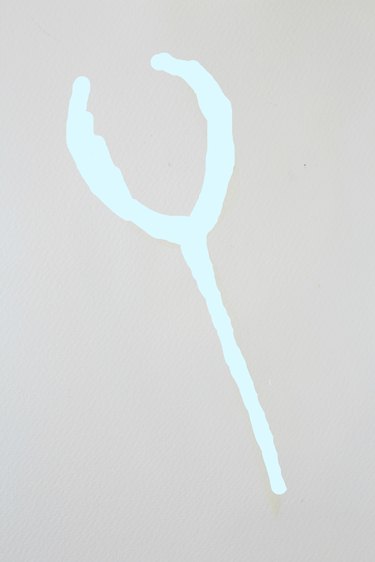
Dip your brush in water, and paint the the stem and outer outline of the tulip with water only.
Tip: You can lightly draw the outline with a pencil before painting if you prefer. Just be sure to wait for the painting to dry completely before erasing any pencil lines, or else you risk smudging or tearing the painting.
Step 3
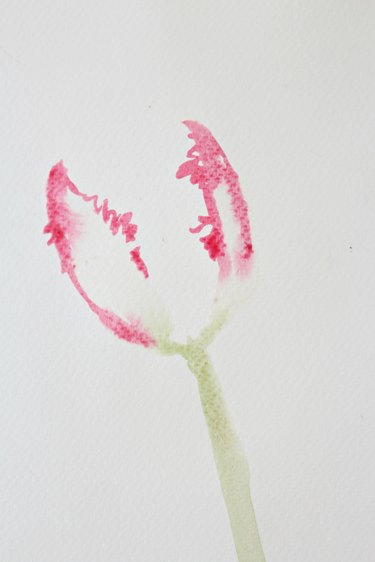
While the paper is still wet, dip your brush in the mixture of green and yellow paint and paint the stem. Clean your brush in water and then use a red color to paint the outer outline of the petals. Use your brush to draw in the inner outline of the petals as shown.
Step 4
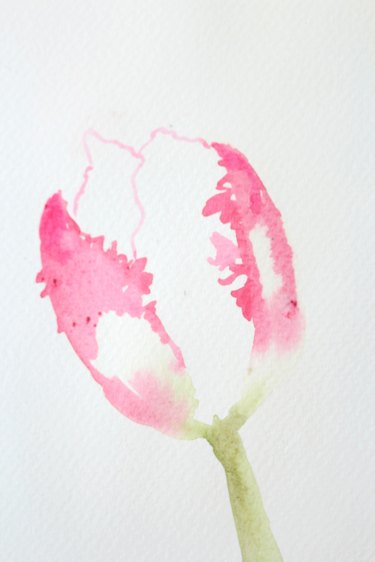
Using paint you already have on the brush, fill in some of the outer petals, leaving some white areas toward the center of the petals. You can add a little more paint to the brush if needed. Next, lightly draw the shape of the inner petals, using irregular lines.
Step 5
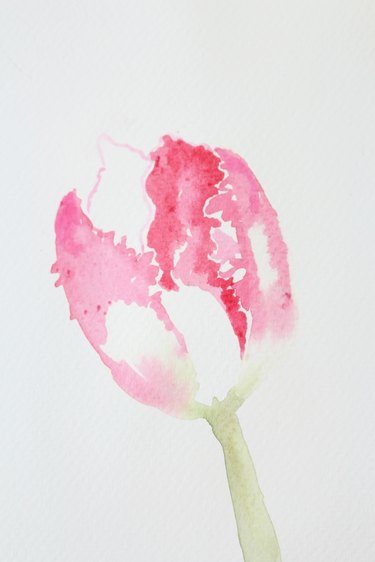
Load your brush with more crimson and fill in the inner petals, leaving a white outline or "channel" around the edge of individual petals. This "channel" serves as a highlight, and it also avoids mixing the paint together from one petal to the other.
Step 6
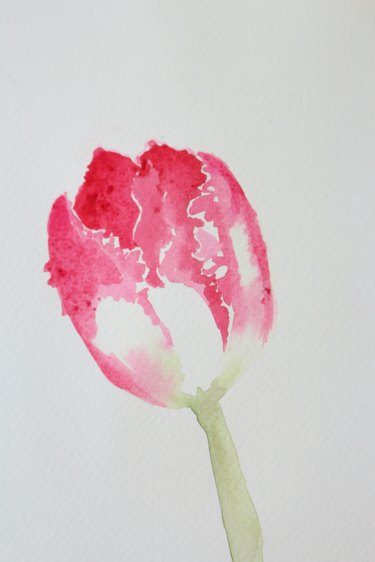
Repeat the previous step with the remaining petal, again leaving a white outline around the petal. At this point, you can also go over the other inner petal and add a little more color to darken it.
Step 7
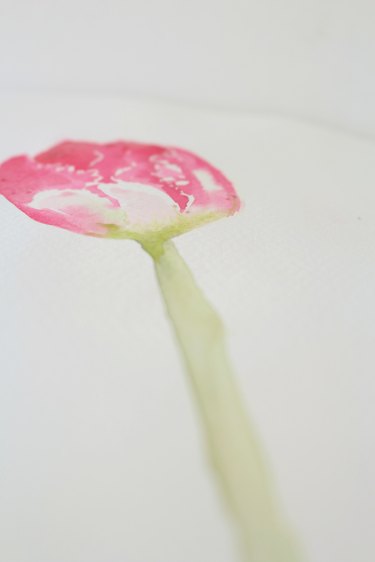
Clean your paintbrush in water and then load it with some more of the green/yellow paint mixture. Paint over the stem and then tilt the paper downward away from you so paint runs toward the tulip. You can also faintly fill in the white area at the bottom of the petals, leaving a white outline as shown. Allow to dry.
Step 8
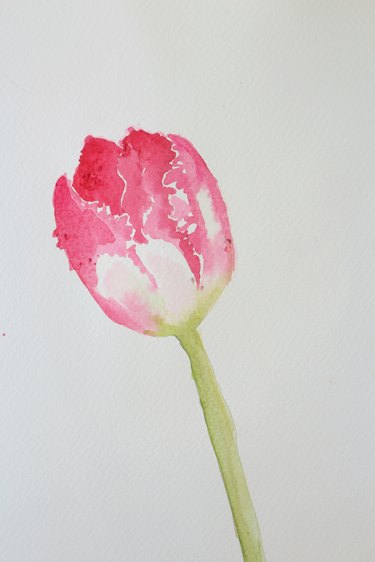
Apply another coat of green paint to the left side of the stem only.
Step 9
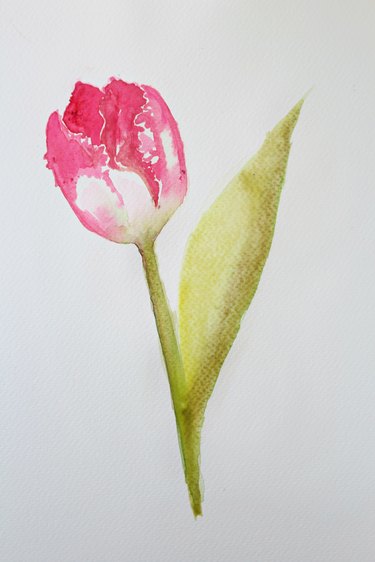
Apply more crimson to the inner petals and outer outline of the petals to shade the darker areas.
Optional: Paint a leaf using the green/yellow mixture. Learn how to paint a basic leaf with this tutorial. Position the leaf along the stem and off to one side of the tulip. Make it almost as tall as the tulip. Darken the outer edge of the leaf with more green paint.